Introduction
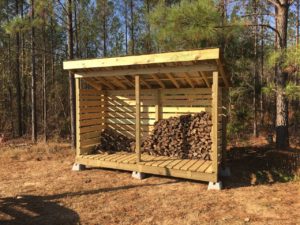
Likely one of the simplest, quickest, and most cost effective foundation types out there, skid foundations consist of pressure-treated dimensional lumber “skids”, (typically 4×4’s, 4×6’s, or 6×6’s) set on and anchored against a compacted gravel base. The building’s floor joists are then placed on top of and perpendicular to the skids, after which the flooring and the rest of the building can be installed/constructed.
In this article, we will take you through this process, step by step. For the sake of time, let’s say that you’ve already planned out the dimensions, overall design, and location of your shed and that you’ve already cleared the area and marked out where your shed will go. If you haven’t done these things yet, this is your sign to do so now.
Step One: Prepare Your Base
The overall concept of building a skid foundation is simple, but simplicity also tends to mean that in order to do it right, you must be especially focused on each and every element involved. Arguably the most important element in a shed foundation is the base material that you place your skids on. This step can quite literally make or break your project over time.
Gravel is the best choice for your base. It drains water well, thus preventing your skids from rotting through or expanding and shifting or twisting your structure. Additionally, compacted gravel provides stability by preventing soil from washing out from underneath the foundation.
Your gravel base should be at least 4 inches deep and it should be slightly larger in area than your planned shed area (an extra foot of two on every side of the future structure will do). You will need to dig out at least 4 inches of your existing ground cover material from this area, whether grass, dirt, or something else, and replace it with gravel. You will then want to compact the gravel using a tamper or power compactor. Make the gravel area as level as possible.
If you are unable to do this, however, skids are also versatile in that they can be placed on a variety of bases, such as concrete blocks or dirt, and can be jacked up, if needed, when placed on uneven ground. Where possible, provide a stable base, but don’t let this single step stop you from building your shed. As long as you can provide stability, a level base, and good drainage, you can make a skid foundation work for you.
Step Two: Place Your Skids
You might only have two skids or you might have more. This will depend on how large your shed is and what type of floor joists you’ll be using. When using 2 in x 6 in floor joists, an 8 ft x 12 ft shed should have two 12 ft skids spaced no more than 6 feet apart on center. Place the skids in the footprint of your future shed parallel to each other.
Step Three: Level Your Skids
Level the skids lengthwise by adding or removing gravel underneath them while also ensuring that a plank placed perpendicular across the skids is also level widthwise. You can fine-tune this once your floor joists are laid atop the skid foundation.
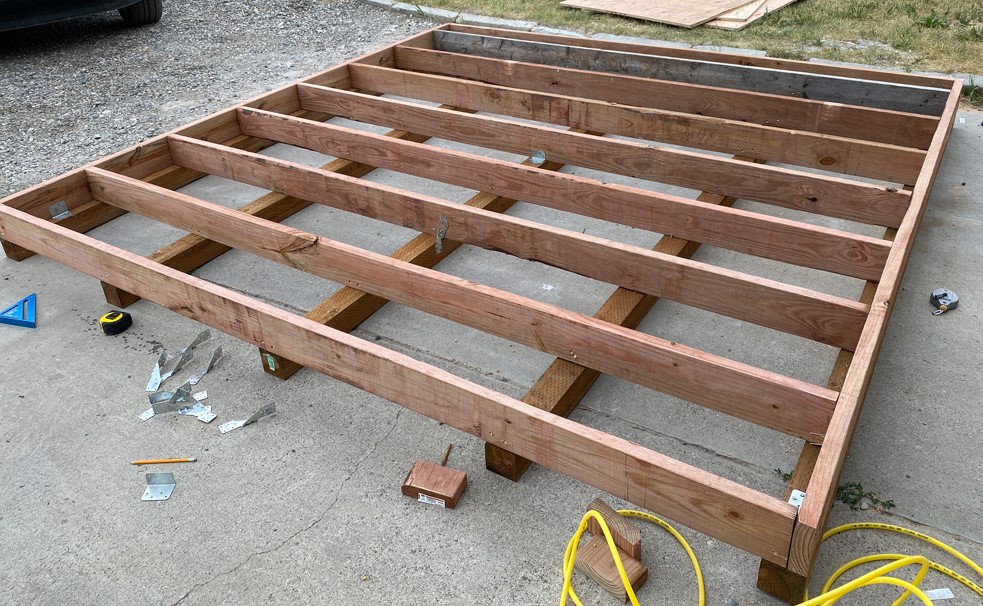
Step Four: Install You Floor Joists
This step can sometimes interfere with the leveling of your skids, and sometimes it can really help fine-tune crooked or uneven skids because you can leverage your floor joists in such a way that can elevate the skids in certain areas and push the skids down in other areas. Make sure to check your level throughout your floor joist installation and adjust as needed.
Step Five: Anchor Your Skid Foundation
Both a possible upside and downside of using a skid foundation is that it means your shed is somewhat mobile. You can hook a rope to your skids and drag your shed to another location, or your shed can shift, move, or even turn over without your consent during times of heavy rain and wind. The latter scenario is why anchoring your skids is important. You can purchase anchoring kits for sheds or you can use long stretches of rebar and drive it through a drilled hole in your skid and then into the ground.
And that’s it! You’re now ready for flooring and walls – we told ya skid foundations were simple and easy, and we certainly meant it.
Ready to get started? Check out our FREE shed plans built with skid foundations.