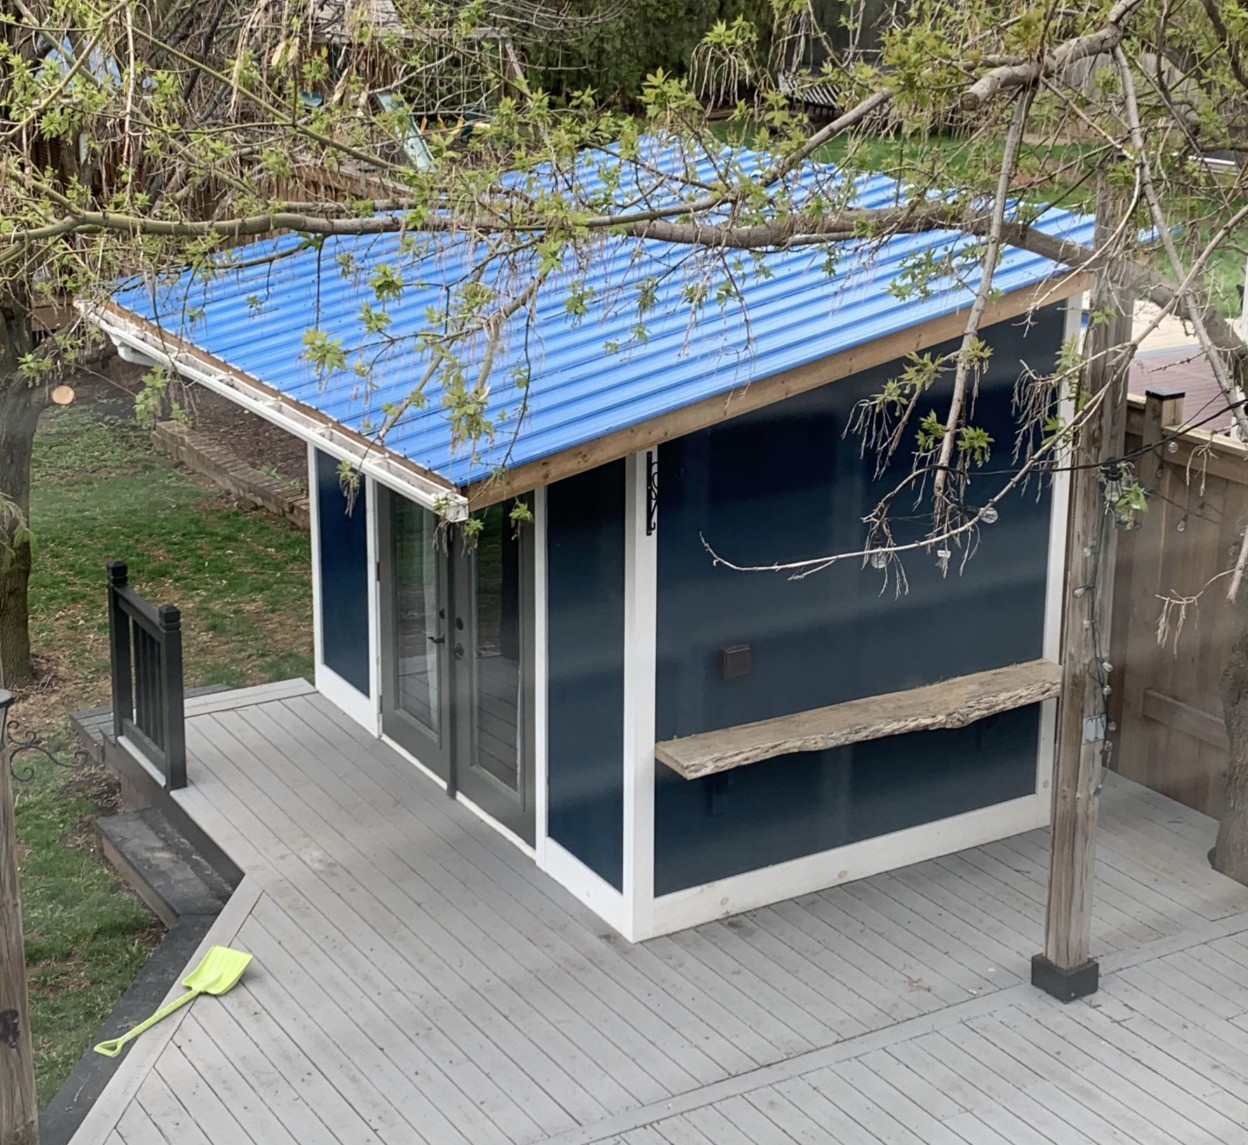
Metal roofing has become an increasingly popular choice for DIY sheds — it lasts 40 to 70 years with minimal maintenance, handles low roof pitches better than asphalt shingles, sheds snow more effectively, and installs faster once purlins are in place, since a single panel can cover several feet of roof width in one piece.
This guide covers the complete installation process: purlin spacing, panel layout and overlap, cutting panels cleanly, fastening correctly, and sealing ridge caps and penetrations. It picks up right after your roof underlayment is installed.
What You’ll Need
Materials
- Corrugated or standing-seam metal panels: Sized to your roof’s total length where possible, to minimize horizontal seams.
- Purlins (1×4 or 2×4 lumber): Horizontal strips installed across the rafters that metal panels screw into, unless your plan specifies direct-to-sheathing installation.
- Ridge cap and closure strips: Purpose-made metal ridge cap matching your panel profile, plus foam closure strips that seal the wavy gap between corrugated panels and the flat ridge cap.
- Gasketed metal roofing screws: Self-drilling screws with a rubber washer, color-matched to your panels if desired.
- Butyl tape or roofing sealant: For sealing panel overlaps and penetrations.
Tools
- Drill/driver with a magnetic screw bit holder
- Metal snips or a circular saw with a metal-cutting blade
- Chalk line
- Tape measure
- Ladder or roof scaffolding
- Work gloves (cut metal edges are sharp)
Step 1: Install Purlins
Unless your specific metal roofing product is rated for direct-to-sheathing installation (some panel systems are), most corrugated and standing-seam metal roofing installs over horizontal purlins spaced across the rafters, which the panels then screw into.
- Determine purlin spacing per your panel manufacturer’s specification — commonly 24 inches on center for standard corrugated panels, though this varies by panel profile and gauge.
- Snap chalk lines across the rafters at each purlin position, working from the eave toward the ridge.
- Fasten 1×4 or 2×4 purlins along each chalk line, nailing or screwing into every rafter the purlin crosses.
- Check purlins for straightness by sighting down their length, since any wave in a purlin will telegraph visibly through the metal panel installed over it.
Step 2: Plan Your Panel Layout
Metal panels typically come in various lengths, and the goal is to minimize horizontal seams — ideally using panels that run the full length of your roof slope from eave to ridge in one piece, eliminating horizontal overlap joints entirely.
For panel width coverage across the roof, most corrugated panels have a specified “coverage width” that’s slightly less than their actual physical width, since one edge of each panel overlaps the next by one or more corrugation ribs. Calculate the number of panels needed by dividing your roof’s total width by each panel’s coverage width, rounding up.
Step 3: Install the First Panel
Panel installation direction matters for weather resistance — panels are installed so that the overlapping edge of each subsequent panel faces away from the prevailing wind direction where possible, though on a shed this is often a minor consideration compared to simply maintaining consistent, correct overlap direction across the whole roof.
- Position the first panel at one rake edge of the roof, overhanging the eave by the amount specified by the manufacturer (commonly 1 to 2 inches) to direct water clear of the fascia.
- Check the panel is square to the roof edge before fastening — an out-of-square first panel will compound across every subsequent panel installed alongside it.
- Fasten the panel to each purlin using gasketed roofing screws, driven into the flat part of the panel profile (not the raised ribs) at the spacing specified by the manufacturer — commonly every 12 to 24 inches along each purlin line.
Step 4: Install Remaining Panels With Correct Overlap
Each subsequent panel overlaps the previous one by the manufacturer’s specified number of corrugation ribs — commonly one full rib for standard corrugated panels.
- Position each new panel so its edge rib overlaps the installed panel’s edge rib by the correct amount, checking alignment along the full panel length before fastening.
- Fasten through the overlapping ribs at the panel edge, in addition to the standard field fastening pattern across the rest of the panel — this overlap seam needs its own dedicated fasteners to stay sealed.
- Continue across the roof, maintaining consistent overlap direction on every panel.
Step 5: Cut Panels to Length or Width
Where a panel needs to be shortened for length, or where you need a partial-width panel at a rake edge, cutting metal roofing cleanly matters both for appearance and for water-shedding performance at the cut edge.
- Mark the cut line using a chalk line or straightedge across the panel.
- Cut using metal snips for shorter cuts or a circular saw fitted with a metal-cutting blade (installed backward, so the blade teeth cut on the pull stroke, which reduces the curled metal burrs that a forward-mounted blade produces) for longer, straighter cuts.
- File or deburr any sharp cut edges, both for safety during handling and to reduce the risk of the raw edge rusting prematurely if the factory coating was cut through.
Step 6: Install Ridge Cap and Closure Strips
The ridge cap covers the peak where both roof planes meet, but corrugated panels leave a wavy gap beneath a flat ridge cap that needs to be sealed with foam closure strips shaped to match the panel profile.
- Install foam closure strips along the top edge of the panels on both sides of the ridge, shaped to fill the corrugation gaps and create a flat sealing surface for the ridge cap to sit on.
- Position the ridge cap over the closure strips, centered on the ridge and overlapping both roof planes evenly.
- Fasten the ridge cap through the closure strips into the panel ribs beneath, using the same gasketed screws used elsewhere on the roof.
- Overlap ridge cap sections by the manufacturer’s specified distance if more than one length of ridge cap is needed to cover the full ridge length.
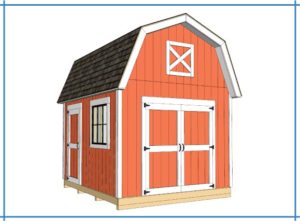
On a gambrel roof, the same closure strip and ridge cap technique applies at both the true ridge and, with an appropriately angled closure piece, at the break point between the steep and shallow slopes on each side.
Step 7: Seal Penetrations
Any point where a fastener, vent, or other feature penetrates the metal panel needs proper sealing to prevent water intrusion at that specific point.
- Fastener penetrations: Gasketed screws seal themselves adequately when properly torqued — not overdriven (which crushes the rubber washer and reduces its sealing ability) and not underdriven (which leaves a gap under the screw head).
- Larger penetrations (vent pipes, if applicable) require a purpose-made boot or flashing designed for metal roofing, sealed with roofing sealant at the base.
Common Mistakes to Avoid
Overdriving fasteners. A gasketed screw driven too tight crushes the rubber washer flat, which eliminates its ability to seal around the screw shaft. Drive screws until the washer just begins to bulge slightly at the edges — snug, not crushed.
Fastening into the panel ribs instead of the flats. Screws should generally go into the flat sections of the panel profile where the panel sits directly against the purlin, not into the raised ribs, which don’t provide the same solid backing and can result in a poor seal.
Inconsistent panel overlap direction. Every panel should overlap in the same direction across the full roof. Reversing overlap direction partway across creates a seam that catches water instead of shedding it.
Skipping closure strips at the ridge. Installing a flat ridge cap directly over corrugated panels without closure strips underneath leaves gaps at every corrugation valley, creating an easy entry point for wind-driven rain and even small pests.
Cutting with a forward-mounted blade. A standard-mounted circular saw blade cutting metal on the push stroke throws hot metal shavings back at the installer and tends to produce more curled, sharp burrs along the cut edge. A backward-mounted metal-cutting blade, cutting on the pull stroke, is safer and produces a cleaner edge.
Frequently Asked Questions
Do I need purlins for metal roofing on a shed?
Most metal roofing panels require purlins — horizontal strips fastened across the rafters — unless the specific product you’re using is rated for direct-to-sheathing installation. Check your panel manufacturer’s specification before deciding whether to skip purlins.
How much overlap do metal roofing panels need?
Most corrugated panels overlap by one full corrugation rib at the side edges. Check your specific panel manufacturer’s installation guide, since overlap requirements vary by panel profile and gauge.
Can I install metal roofing over asphalt shingles on a shed?
This guide assumes a new installation over sheathing and underlayment. Installing metal roofing directly over existing asphalt shingles is possible in some cases with specific furring strip systems, but it’s not the standard approach for a new shed build and isn’t covered by this guide.
How long does metal roofing last on a shed?
Metal roofing typically lasts 40 to 70 years with minimal maintenance, significantly outlasting standard asphalt shingles. The exact lifespan depends on the panel’s gauge, coating quality, and local climate conditions.
What tools do I need to cut metal roofing panels?
Metal snips work well for shorter cuts. For longer, straighter cuts, a circular saw fitted with a metal-cutting blade mounted backward (so it cuts on the pull stroke) produces a cleaner edge with fewer sharp burrs than a standard forward-mounted blade.
Is metal roofing more expensive than asphalt shingles for a shed?
Yes, metal roofing panels generally cost more upfront than asphalt shingles for the same roof area. The higher initial cost is often offset by metal’s significantly longer lifespan and lower long-term maintenance compared to shingles. Use our shed cost calculator to compare both options for your specific roof size.
Ready to Finish Your Roof?
Once your metal panels and ridge cap are installed and sealed, your shed’s roof is complete and built to last for decades with minimal upkeep.