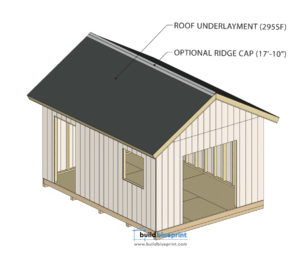
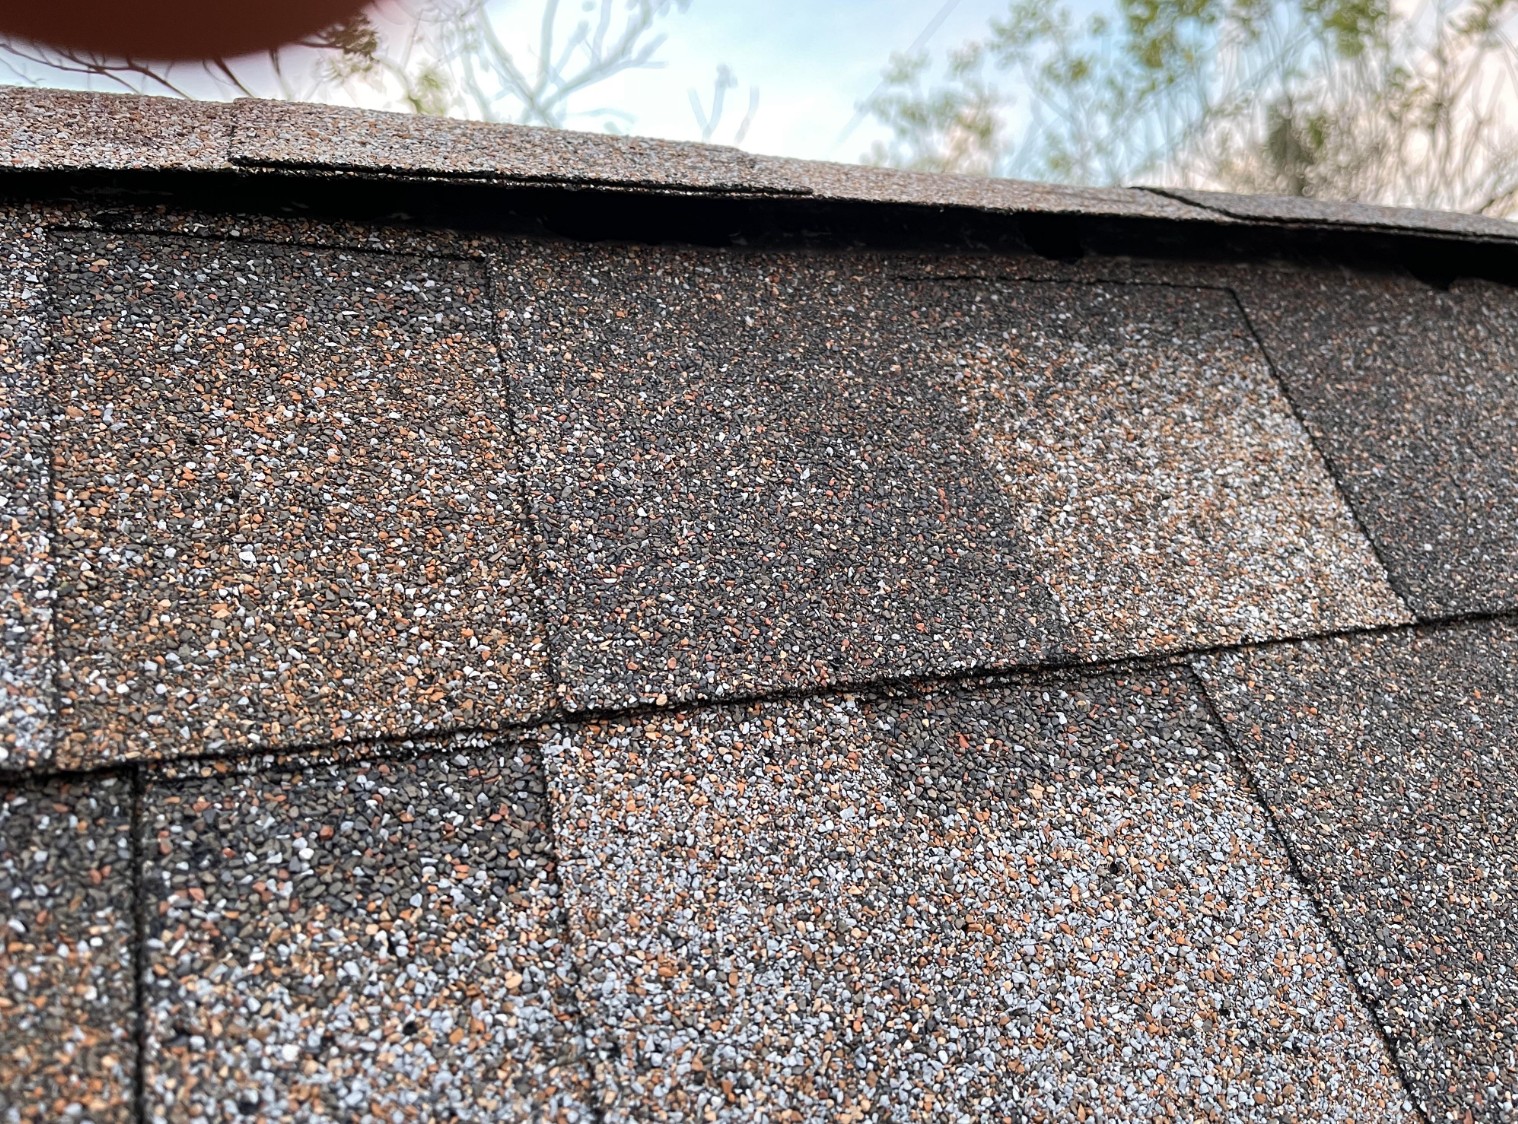
Asphalt shingles are the standard roofing material for most DIY sheds — affordable, widely available at any hardware store, straightforward to install, and rated for 20 to 30 years with proper installation. Most of the failures that shorten a shingle roof’s life aren’t the material’s fault; they’re installation sequence errors that are easy to avoid once you know what to watch for.
This guide covers the complete installation process: drip edge sequencing, laying a starter course, calculating shingle exposure, cutting at rakes and ridges, and capping the ridge. It picks up right after your roof underlayment is installed.
What You’ll Need
Materials
- 3-tab or architectural asphalt shingles: Architectural shingles cost somewhat more but offer better wind resistance and a longer rated lifespan.
- Starter strip shingles: Purpose-made starter strips, or standard shingles with tabs trimmed off, for the first course.
- Ridge cap shingles: Purpose-made ridge caps, or standard shingles cut into thirds along the tab lines.
- Roofing nails: Galvanized, 1¼” for standard applications (long enough to penetrate through the shingle and underlayment into the sheathing).
- Roofing cement: For sealing exposed nail heads and any spot repairs.
Tools
- Utility knife with hook-blade (makes clean shingle cuts significantly easier than a standard blade)
- Roofing hammer or a nail gun with a pneumatic roofing coil attachment
- Chalk line
- Tape measure
- Ladder or roof scaffolding
Step 1: Confirm Drip Edge Is Installed Correctly
Before laying shingles, confirm your drip edge sequence from the underlayment stage is correct: drip edge under the underlayment at the eaves, and drip edge over the underlayment at the rakes. If you haven’t completed underlayment yet, see our full underlayment guide before continuing here — shingles rely on that layer being correctly sequenced underneath them.
Step 2: Snap a Chalk Line for the Starter Course
Measure up from the eave edge by the width of your starter shingle overhang (typically ¼ to ¾ inch past the drip edge) and snap a horizontal chalk line across the full width of the roof. This line keeps your starter course straight, which matters because every subsequent course references off it.
Step 3: Install the Starter Course
The starter course is a solid strip of roofing material along the eave edge, positioned beneath the first visible course of shingles. It seals the vulnerable eave edge and backs up the cutouts (the gaps between tabs) on the first visible course above it.
- Use purpose-made starter strip shingles if available, or trim the tabs off standard 3-tab shingles to create a solid strip.
- Align the starter strip with your chalk line, overhanging the drip edge slightly per the manufacturer’s instructions.
- Nail the starter strip using 4 nails per strip, placed roughly 3 inches up from the bottom edge and spaced evenly across the width.
Step 4: Install the First Course
The first visible course of shingles goes directly over the starter strip, aligned flush with the eave edge.
- Position the first shingle flush with the rake edge and flush with the bottom of the starter strip.
- Nail the shingle using 4 nails per standard 3-tab shingle (6 for architectural shingles, or per the manufacturer’s wind-rating instructions), placed above the cutout lines at the manufacturer’s specified height — typically about 5½ inches up from the bottom edge, just above the adhesive strip.
- Continue across the roof, butting each shingle against the previous one.
Step 5: Calculate and Maintain Exposure for Subsequent Courses
Exposure is the visible portion of each shingle course — standard 3-tab shingles typically have a 5-inch exposure, meaning each course reveals 5 inches of the shingle below the one covering it. This creates the classic overlapping shingle pattern that sheds water effectively.
- Measure up from your first course by the exposure distance (5 inches for standard 3-tab shingles, or per your product’s specification) and snap a new chalk line for the second course.
- Offset the second course horizontally from the first — typically by half a tab width (3 inches on a standard 12-inch-wide tab) — so the cutouts (gaps between tabs) don’t align vertically between courses. This offset pattern is what gives shingle roofs their classic staggered brick-like appearance and, more importantly, prevents water from finding a straight-line path through aligned cutouts.
- Continue this pattern up the roof, snapping a new chalk line for each course and alternating the horizontal offset so no two adjacent courses share aligned cutouts.
Working with chalk lines for every course takes more time than eyeballing it, but it’s the difference between a roof that looks factory-straight and one with a visible wave or drift by the time you reach the ridge. It’s worth the extra few minutes per course.
Step 6: Cut Shingles at the Rake Edges
As you work across each course, the shingle at the rake (side) edge of the roof needs to be cut to align flush with the roof edge.
- Measure and mark the cut line on the shingle from the back side, using your roof’s actual rake edge as the reference.
- Score the shingle along the cut line using a hook-blade utility knife — score from the back (granule) side for a cleaner cut, then snap or finish cutting through.
- Install the cut shingle flush with the rake edge, using the same nailing pattern as a full shingle.
Step 7: Install Ridge Cap Shingles
Once both sides of the roof are shingled up to the ridge, cap the ridge with individual ridge cap shingles that fold over the peak and tie both roof planes together at the top.
- Cut ridge caps from standard shingles by trimming along the tab lines into individual squares, or use purpose-made ridge cap shingles if available — purpose-made caps are pre-scored to fold cleanly over the ridge and are worth the modest additional cost for a cleaner result.
- Starting at one end of the ridge, fold each cap shingle over the peak and nail it in place with one nail on each side of the ridge, positioned so the nail heads will be covered by the next cap shingle’s overlap.
- Work down the length of the ridge, overlapping each cap shingle over the previous one by the same exposure distance used on the main roof field.
- Seal the final cap shingle at the end of the ridge with a dab of roofing cement over the exposed nail heads, since it’s the one cap with no subsequent shingle to cover them.
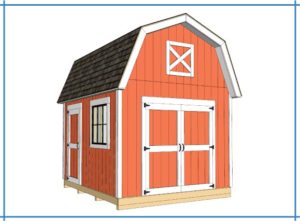
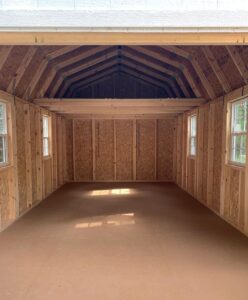
On a gambrel roof, apply the same ridge cap technique at the true ridge at the very top. The break point where the steep and shallow slopes meet on each side should already be handled with adequate shingle overlap running continuously across that transition, without a separate cap treatment — check your underlayment and shingle courses carried cleanly across that line during installation.
Common Mistakes to Avoid
Skipping the starter course. Installing the first visible course directly on the drip edge without a starter strip underneath leaves the cutouts on that first course unsealed, creating an easy path for wind-driven rain to get underneath the shingles right at the most exposed edge of the roof.
Nailing too high or too low. Nails placed too low (near the shingle’s bottom edge) are visible and vulnerable to exposure; nails placed too high can miss the layer of shingle below and fail to secure it properly. Follow the manufacturer’s printed nail line exactly.
Not staggering cutouts between courses. Aligning the gaps between tabs vertically from one course to the next creates a straight-line path for water to work through the shingle layers. Always offset each course horizontally per the manufacturer’s pattern recommendation.
Under-nailing in windy regions. Standard nailing patterns (4 nails per 3-tab shingle) are adequate for moderate wind zones, but higher-wind regions call for 6-nail patterns per the manufacturer’s high-wind installation instructions. Check your shingle product’s wind rating and installation guide.
Using standard shingles for ridge caps without checking compatibility. While cutting standard 3-tab shingles into ridge caps works and is common practice, purpose-made ridge cap shingles are engineered to fold and seal at the ridge more reliably, particularly on steeper pitches. Consider the small upgrade cost for a more weathertight ridge.
Frequently Asked Questions
How many shingles do I need for a shed roof?
Calculate your total roof area including overhangs, divide by 100 to get the number of roofing “squares” (a square covers 100 sq ft), then multiply by the number of bundles per square for your specific product — typically 3 bundles per square for standard 3-tab shingles. Add roughly 10% for waste from cuts and ridge caps.
What is shingle exposure and why does it matter?
Exposure is the visible portion of each shingle course, typically 5 inches for standard 3-tab shingles. Consistent exposure, maintained by snapping a chalk line for each course, is what keeps courses straight and ensures each layer overlaps the one below by the correct amount to shed water properly.
Do I need a starter course for shingles?
Yes. The starter course seals the eave edge and backs up the cutouts on the first visible course, preventing wind-driven rain from working underneath the shingles at the roof’s most exposed edge. Skipping it is one of the more common causes of eave-edge leaks on DIY shingle roofs.
How many nails per shingle do I need?
4 nails per standard 3-tab shingle is the typical pattern for moderate wind zones. Architectural shingles and high-wind regions often call for 6 nails per shingle. Always follow your specific product’s manufacturer instructions, which reflect that product’s wind rating.
Can I install asphalt shingles myself?
Yes. Shingle installation is one of the more approachable roofing tasks for a DIYer — the core skill is maintaining consistent exposure and nail placement across each course, which chalk lines make manageable even for a first attempt. A shed-scale roof is also small enough to complete in a day or two.
How long do asphalt shingles last on a shed?
Properly installed asphalt shingles typically last 20 to 30 years, depending on the product’s rating, local climate, and installation quality. 3-tab shingles are generally on the lower end of that range; architectural shingles tend to last longer due to their heavier construction and better wind resistance.
Ready to Finish Your Roof?
Once your shingles and ridge caps are installed, your shed’s roof is complete and weathertight. From here, the remaining finishing touches are trim, paint, and any gutters you’re planning to add.