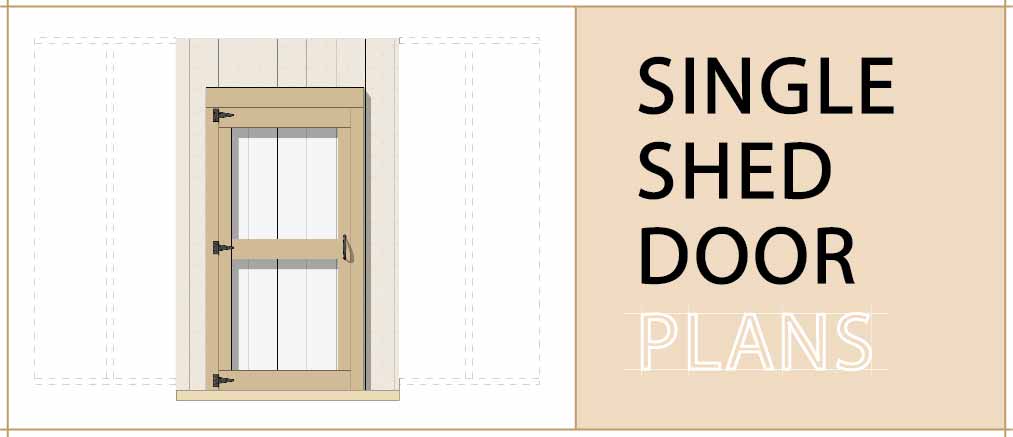
Overview
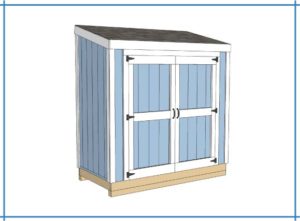
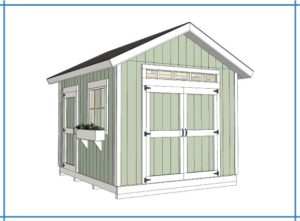
This is a simple method to construct a sturdy and lightweight single shed door. The door height and width can be easily customized per shed size as needed. See instructions here for double shed door plans. This door build fits all shed designs, check out our Shed plan Library!
Want to add a double door to your shed? Check out our Double Door Plan.
Material and Cut List
DOOR FRAME
2 – 2 x 4 Lumber 8′ (cut to 6′ 5 3/4″)
2 – 2 x 4 Lumber 8′ (cut to 6′ 3 1/2″)
1 – 2 x 6 Lumber 4′ (cut to 3′ 7″)
2 – 2 x 6 Lumber 4′ (cut to 3′ 3″) (used for header)
1 – 2 x 6 Plywood Filler (used for header)
DOOR
2 – 2 x 6 Lumber 3′ (no cut)
1 – 2 x 6 Lumber 3′ (cut to 2′ 5″)
2 – 2 x 4 Lumber 6′ (cut to 5′ 6″)
1 – 4′ x 8′ Plywood Siding Panel T1-11 (cut to 6′ 5 3/4″ x 3′)
HARDWARE
1 – Door Handle or Latch
3 – 3-1/2 in. x 5/8 in. Door Hinge
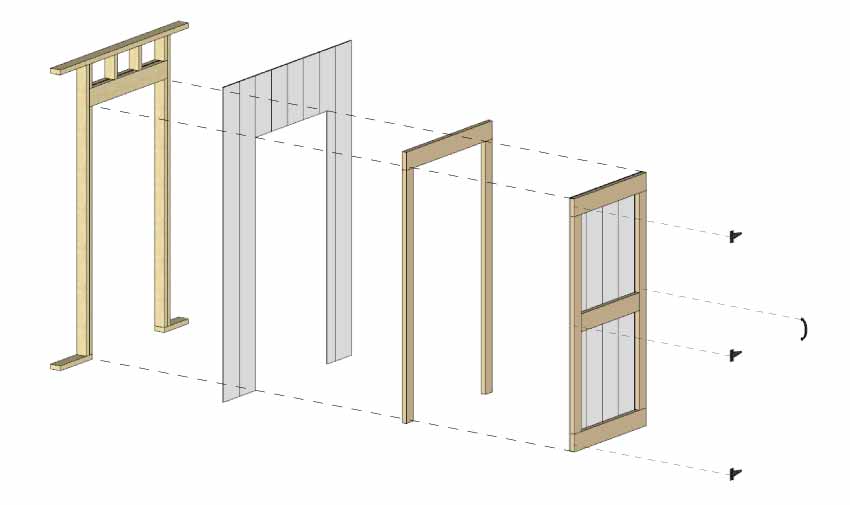
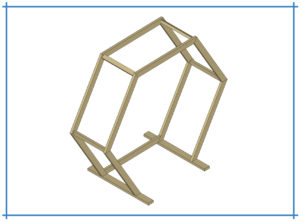
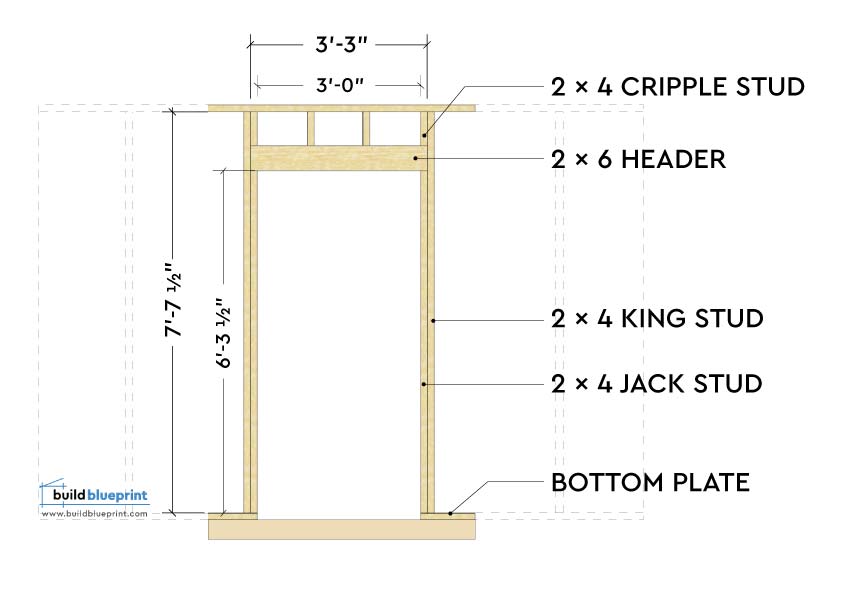
Step 1 – Door Framing
Start with building the door frame opening as illustrated below. Make sure the edges of the studs and header are perfectly flush, measure and adjust as needed.
Cut two 2 x 4 lumbers to 6′ 3 1/2″ length for jack stud.
Cut two 2 x 4 lumbers to 7′ 7 1/2″ length for king stud.
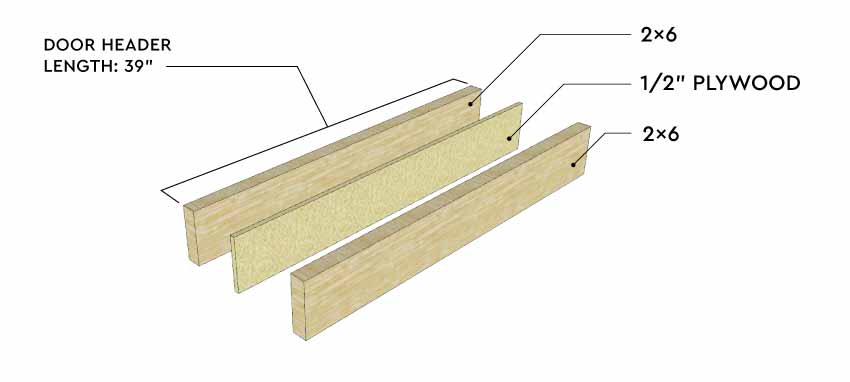
Cut two 2 x 6 lumbers to 3′ 3″ length for door header, use a 1/2″ plywood as filler in-between.
Then, drill pilot holes and insert 2 1/2″ screws every 10″ to secure everything.
Both 2 x 6 or 2 x 4 lumbers will work for the header, for larger doors I would recommend 2 x 6’s. Cut the 2 x 6 and 1/2″ plywood filler to length, then assemble with 3 1/2″ screws every 8″.
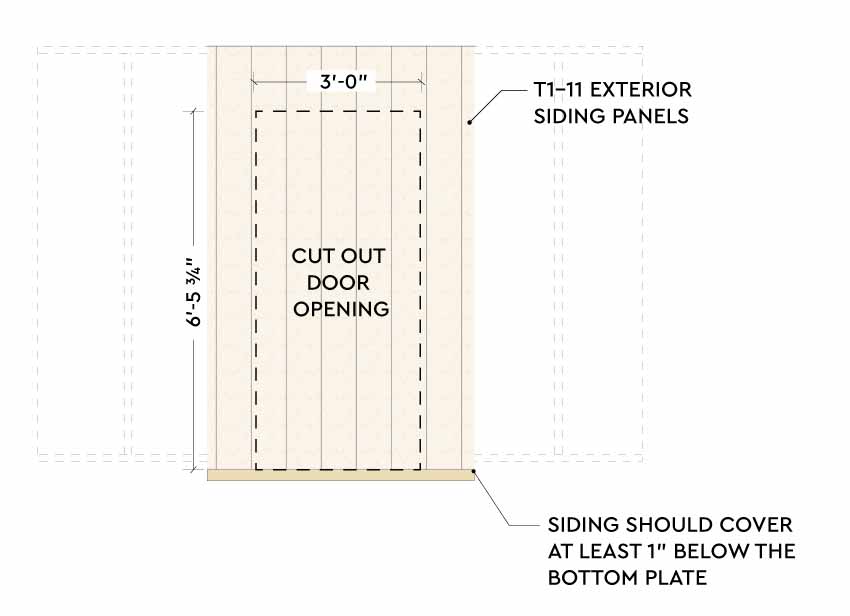
Step 2 – Add Exterior Siding
After the wall frame is set in place, install the T1-11 exterior siding panel with 2 1/2″ nails every 8″. The bottom of the siding should be at least 1″ below the bottom plate, this is to cover the gap between the wall frame and foundation.
Measure and cut out the door opening, use the jack stud framing as the guide. You can use a Sabre saw to cut through T1-11 fairly easily.
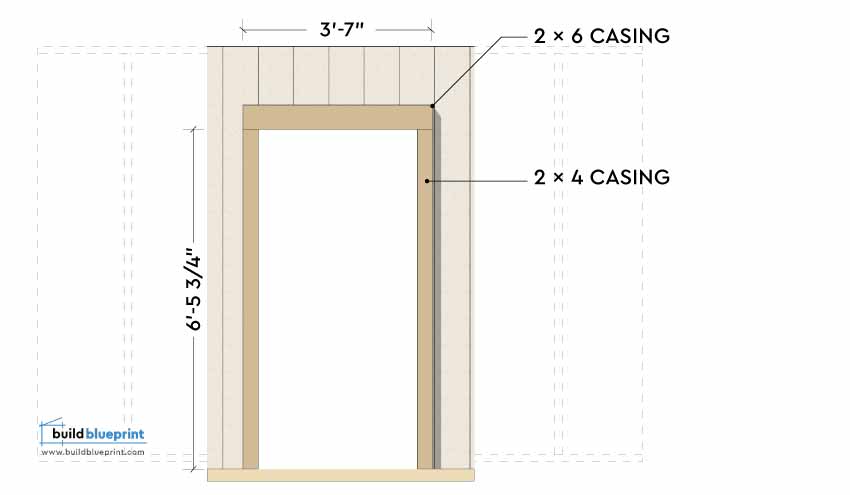
Step 3 – Install Casing
Cut a single 2 x 6 lumber to 3′ 7″, and cut two 2 x 4 lumber to 6′ 5 3/4″.
It’s important for the casings to flush with the door opening, so the door opens and closes smoothly. Drill pilot hole and insert 3 1/2″ screws to secure in place.
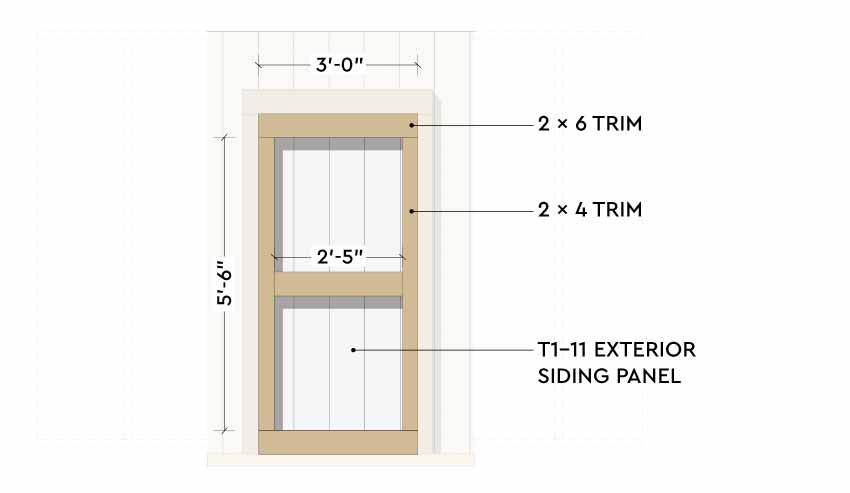
Step 4 – Door Construction
Finally, time to work on the actual door! First, measure the door opening again to confirm height and width, sometimes this can change slightly from craftsmanship. Cut out to size from a single piece of T1-11 exterior siding panel.
Cut two 2 x 6 lumbers to 3′, cut a single 2 x 6 lumber to 2′ 5″, and cut two 2 x 4 lumbers to 5′ 6″.
Place trims flat onto the siding panel to ensure they are square. Then drill pilot holes and insert 2″ screws to secure in place.
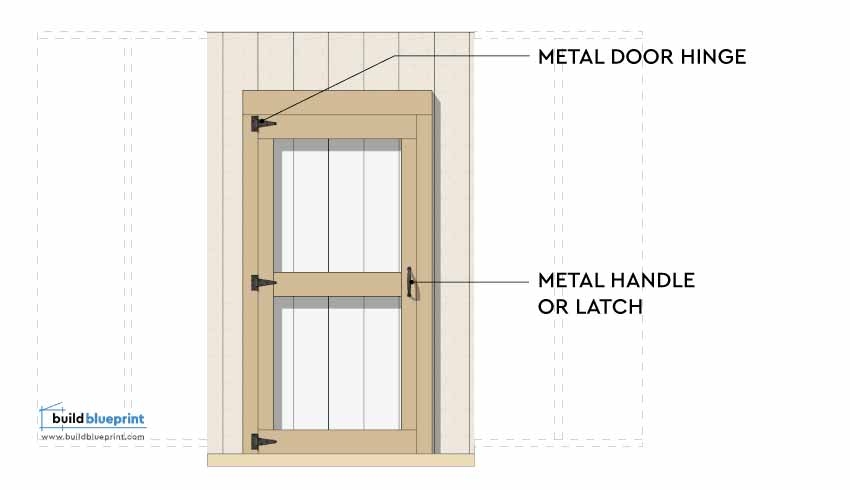
Step 5 – Hanging the Door
With the door in closed position, use a pencil to mark up the three hinge locations on both the door and the casing. Make sure the hinges are straight.
Attach the hinges onto the door with screws first. Then lift the door in place at closed position, screw in the hinges onto the casing. Swing the door to test out alignment, adjust as needed.
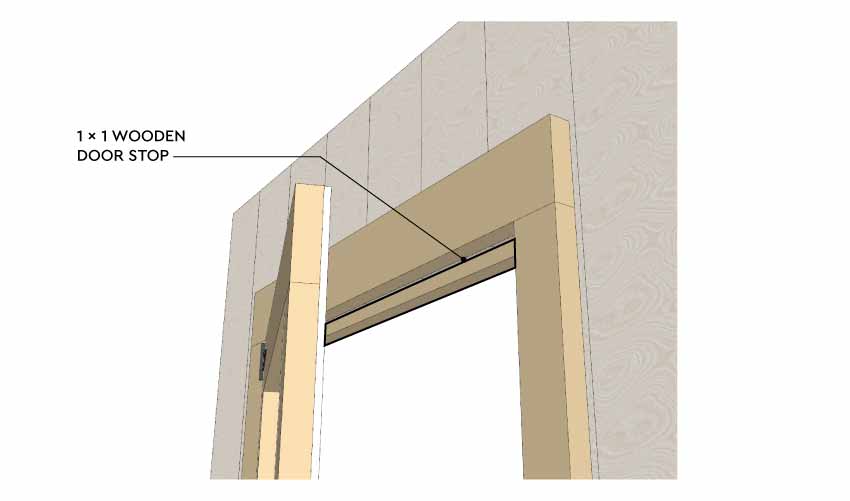
It is also recommended that you add a door stopper to prevent the door from swinging into the shed. With the door in closed position, attach any small piece of wood block under the header. Make sure it’s tight against the back side of the door.
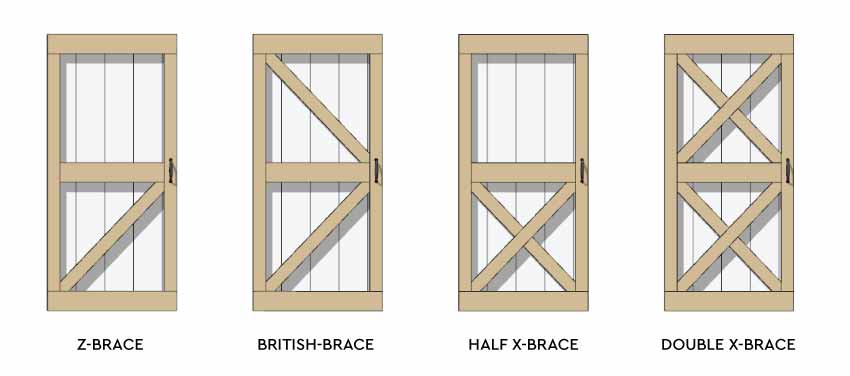
And that’s it, your shed door is complete! If you’d like to get fancy, try some of the bracing trim patterns below:
3D View of Single Shed Door Assembly