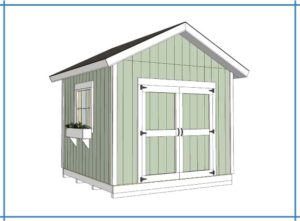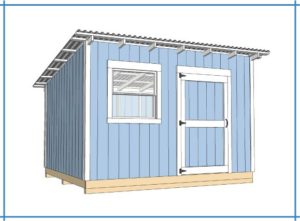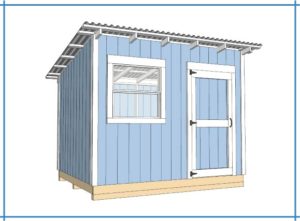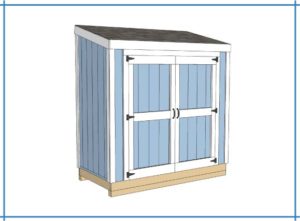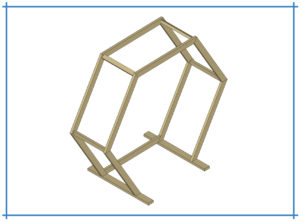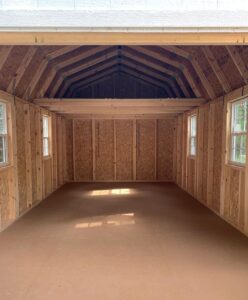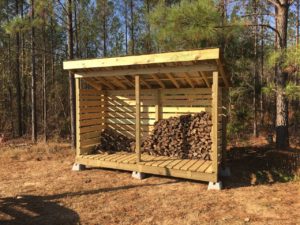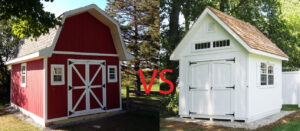
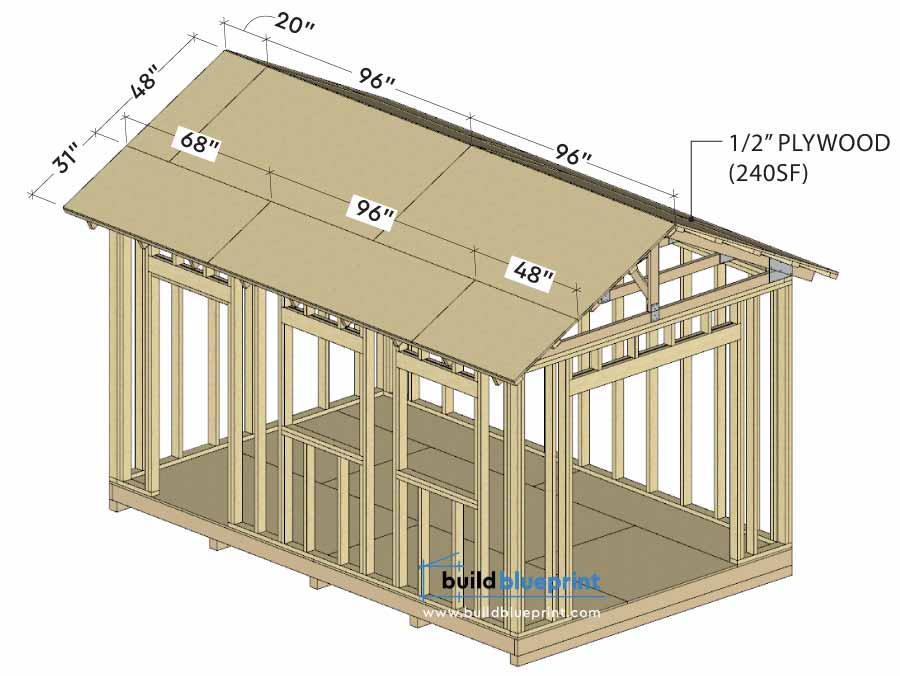
 Roof sheathing is the plywood or OSB layer that spans across your rafters or trusses, creating a solid, continuous surface for underlayment and your final roofing material to attach to. It’s a stage that goes quickly once you understand the layout logic, but a few details — panel thickness, joint staggering, and nailing pattern — matter more than they might seem, since they directly affect how well your roof holds up under wind and snow load over the structure’s lifetime.
This guide covers selecting the right sheathing thickness for your rafter spacing, calculating how many sheets you need, laying out panels with properly staggered joints, and nailing them off correctly. It picks up right where your roof framing leaves off — whether you built a gable roof, a lean-to roof, or a gambrel roof.
What You’ll Need
Materials
- Plywood or OSB sheathing panels: Typically ½” thick for standard 16″ or 24″ rafter spacing on a shed-scale roof. Check your plan’s specific thickness requirement.
- H-clips (panel edge clips): Small metal clips installed between panel edges at unsupported spans, maintaining consistent spacing and adding edge support.
- 8d common nails or ring-shank nails: Ring-shank nails provide better pull-out resistance and are worth the small additional cost for roof sheathing specifically.
Tools
- Circular saw
- Tape measure and chalk line
- Framing hammer or nail gun with compressor
- Ladder or roof scaffolding
- Roofing harness or fall protection, for steeper pitches or taller structures
Choosing the Right Sheathing Thickness
Sheathing thickness is determined primarily by rafter or truss spacing — wider spacing requires thicker sheathing to span the distance without excessive deflection under load.
| Rafter/Truss Spacing | Minimum Sheathing Thickness |
|---|---|
| 16″ on center | 3/8″ (½” commonly used for extra margin) |
| 24″ on center | ½” (5/8″ for heavier roofing materials like tile or slate) |
For most residential shed builds with rafters or trusses at 16″ or 24″ on center, ½-inch plywood or OSB is the standard choice and what our shed plans specify by default. If you’re planning a heavier roofing material — cedar shakes or slate rather than standard asphalt shingles or metal panels — check whether your plan calls for a thicker 5/8-inch panel to provide additional support.
Plywood vs. OSB: Both are structurally acceptable for roof sheathing and used widely throughout residential construction. Plywood handles moisture exposure slightly better before installation (it doesn’t swell at the edges as readily if it gets wet before roofing is complete), while OSB is generally less expensive. For a shed project where sheathing may sit exposed to weather for a few days before roofing goes on, plywood’s better wet-performance is a modest advantage worth considering, though OSB remains a perfectly viable and widely used choice.
Calculating How Many Sheets You Need
Calculate total roof area first, then divide by the coverage of a single sheet (32 square feet for a standard 4×8 sheet), and add a waste factor for cuts at edges, hips, and valleys.
Total roof area = (rafter length including overhang) × (roof width including overhangs) × number of roof planes. For a simple gable roof, multiply by 2 (one calculation per side); for a lean-to roof, it’s just one plane; for a gambrel roof, calculate each of the four planes (two per side) separately and add them together.
As a working example: a 10×12 shed with a gable roof, 4:12 pitch, and rafters roughly 6 feet long including overhang, with the roof extending 13 feet in length including gable overhangs — each side of the roof is roughly 6 × 13 = 78 square feet, and two sides total 156 square feet. Divided by 32 square feet per sheet, that’s approximately 5 sheets, and adding a 10% waste allowance for cuts brings it to 6 sheets.
Always verify sheet count against your specific plan’s materials list rather than calculating independently if a plan is available — plans account for the exact roof geometry, including any overhang and gable-end specifics that a general formula can only approximate.
Step 1: Plan Your Panel Layout
Before fastening anything, dry-lay your sheathing plan mentally (or with chalk lines on the rafters) to confirm how full sheets will land across the roof and where cut pieces will be needed at the edges.
The critical layout principle for roof sheathing is staggering the joints between rows — vertical joints between panels in one row should not line up with vertical joints in the adjacent row. Staggering distributes load across more of the panel structure and prevents a continuous seam from running up the roof, which would create a weak line prone to flexing under load.
Step 2: Start at a Bottom Corner
Roof sheathing installation typically starts at a bottom corner of the roof (the eave edge) and works upward toward the ridge, and across the roof width in one direction.
- Position the first sheet flush with the bottom (eave) edge and one side (rake) edge of the roof, with the panel’s long edge running perpendicular to the rafters — this ensures the panel spans across multiple rafters rather than running parallel along just one.
- Check that the panel edge falls on a rafter centerline, not in the middle of a rafter bay, so both the panel’s edge and the adjacent panel’s edge are supported by the same rafter.
- Fasten the first sheet following the nailing pattern described in Step 4 below.
Step 3: Continue Across and Stagger Each Row
Work across the first row, then start the second row with a half-sheet or an offset cut piece to ensure the vertical joints don’t align with the row below.
- Complete the first row across the full roof width, cutting the final panel to fit the remaining space at the rake edge.
- Start the second row with a half-length sheet (cut a full sheet in half, typically yielding two 4×4 pieces) at one end, which shifts every subsequent joint in that row by half a sheet-width relative to the row below.
- Continue the second row with full sheets after the starting half-sheet, maintaining the offset all the way across.
- Repeat this alternating full-sheet, half-sheet starting pattern for each subsequent row moving up toward the ridge, so that every row’s joints are staggered relative to the rows above and below it.
On a gambrel roof with two distinct slopes on each side, apply this same staggered layout independently to each of the four roof planes, since the break point between the steep and shallow slopes interrupts continuous sheathing runs at that line.
Step 4: Nail Off Each Panel Correctly
Proper nailing pattern and spacing is what actually gives sheathing its structural strength — a panel that’s positioned correctly but under-fastened won’t perform as designed.
- Edge nailing: Space nails 6 inches apart along all panel edges, where the panel meets a rafter or another panel.
- Field nailing: Space nails 12 inches apart across the interior field of the panel, at every intermediate rafter the panel crosses.
- Nail placement from edges: Keep nails at least ⅜ inch from panel edges to prevent splitting, and avoid nailing too close to panel corners.
- Nail depth: Drive nails flush with the panel surface — not countersunk below it, and not left proud above it. An overdriven nail head that breaks through the panel surface reduces its holding strength and its structural contribution to the sheathing.
If you’re using a pneumatic nail gun, adjust the compressor pressure and depth setting on a scrap piece of the same panel thickness before starting on the actual roof, to dial in a flush nail depth without overdriving.
Step 5: Install H-Clips at Unsupported Panel Edges
Where a panel edge falls between rafters rather than directly on one (which happens at horizontal joints partway up a long rafter run, if your roof design requires it), an H-clip should be installed to maintain consistent panel spacing and provide a small amount of edge support at that unsupported joint.
H-clips slide onto the edge of one panel before the adjacent panel is installed, then the next panel’s edge slides into the other side of the clip, maintaining a consistent 1/8-inch gap between panels for material expansion while providing a modest amount of load transfer across the joint. Check your plan’s specification for whether H-clips are required at your specific rafter spacing — they’re more commonly specified at 24″ on center spacing than at 16″ on center, since the wider span between supports makes edge stability more of a concern.
Step 6: Leave Expansion Gaps
Leave a small gap — typically 1/8 inch — between all sheathing panel edges, both where panels meet at their ends and along their long edges. Plywood and OSB expand and contract slightly with humidity changes, and installing panels perfectly tight against each other with no gap can cause buckling at the joints over time, particularly if the sheathing sits exposed to weather for any period before roofing is completed.
Many sheathing panels have factory-marked spacer tabs along their edges specifically to help installers maintain this gap consistently without needing to measure it at every joint.
Common Mistakes to Avoid
Not staggering joints between rows. Aligning vertical joints from one row directly above the row below creates a continuous seam running up the roof slope, which is structurally weaker than a properly staggered layout. Always start alternating rows with a half-sheet to maintain the offset.
Under-nailing the field of the panel. It’s tempting to focus fastening effort on panel edges and skip some of the field nailing across intermediate rafters, but field nailing is what prevents the panel from drumming, flexing, or working loose under wind and foot traffic over time. Follow the full nailing schedule, not just the edges.
Installing panels with no expansion gap. Panels installed perfectly tight against each other can buckle at the joints as they expand with humidity changes. Leave the standard 1/8-inch gap at every joint.
Overdriving nails below the panel surface. An overdriven nail head breaks through the panel’s outer wood fibers, reducing its holding strength at that specific point. If you’re using a nail gun, test and adjust the depth setting on scrap material before starting on the actual roof.
Using undersized panels for the rafter spacing. Always match sheathing thickness to your actual rafter or truss spacing — thinner panels than specified for a given spacing can deflect excessively under snow load, leading to a bouncy or unstable-feeling roof surface even if it doesn’t fail outright.
Leaving sheathing exposed to weather for extended periods. Roof sheathing is not a finished weather barrier on its own — plan to install underlayment as soon as reasonably possible after sheathing is complete, since even a well-installed panel will begin absorbing moisture and potentially swelling at the edges if left exposed to repeated rain for an extended stretch.
Frequently Asked Questions
What thickness plywood should I use for a shed roof?
½-inch plywood or OSB is the standard thickness for most shed roofs with rafters or trusses spaced at 16 or 24 inches on center. Thinner panels (3/8 inch) can work at tighter 16-inch spacing but ½-inch provides a better margin. For heavier roofing materials like cedar shakes or slate, or wider truss spacing, a thicker 5/8-inch panel may be specified — check your specific plan.
How many sheets of plywood do I need for a shed roof?
Calculate your total roof area (rafter length including overhang × roof width including overhangs × number of roof planes), divide by 32 square feet (the coverage of a standard 4×8 sheet), and add roughly 10% for waste from cuts at edges. For an exact figure, check your specific plan’s materials list, which accounts for your shed’s precise roof geometry.
Do I need to stagger roof sheathing joints?
Yes. Staggering joints between rows — so vertical seams in one row don’t align with the row above or below — distributes structural load more evenly across the roof surface and avoids creating a continuous weak line running up the slope. This is standard practice in residential roof construction and should be followed on any shed roof as well.
What size nails should I use for roof sheathing?
8d common nails or 8d ring-shank nails are standard for ½-inch roof sheathing. Ring-shank nails provide meaningfully better pull-out resistance than smooth-shank nails and are worth the small additional cost for roof applications specifically, where wind uplift places ongoing stress on the sheathing-to-rafter connection.
What are H-clips used for on a roof?
H-clips are small metal clips installed between sheathing panel edges that fall between rafters rather than directly over one, maintaining consistent panel spacing and providing a modest amount of edge support at that unsupported joint. They’re more commonly required at wider rafter spacing (24 inches on center) than at tighter spacing (16 inches on center). Check your specific plan for whether they’re called for in your roof design.
Can I use OSB instead of plywood for roof sheathing?
Yes, both are structurally acceptable and widely used for residential roof sheathing, including on sheds. OSB is generally less expensive than plywood. Plywood handles pre-installation moisture exposure slightly better, which can be a modest advantage if your sheathing may sit exposed to weather for a few days before roofing is completed. Either material performs well when properly installed and promptly covered with underlayment and roofing.
Ready for the Next Step?
Once your sheathing is installed, nailed off correctly, and the expansion gaps are in place, the next stage is roof underlayment — the water-resistant barrier that goes on before your shingles or metal panels.