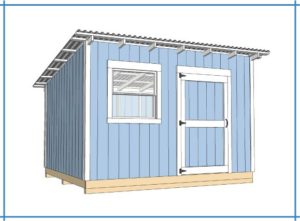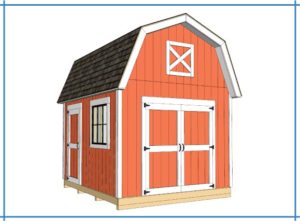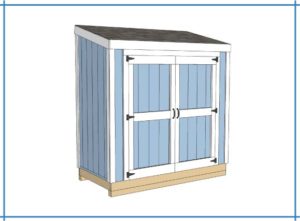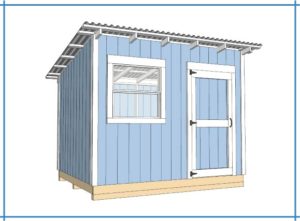
Your shed foundation is the most consequential decision in the entire build — and the one most DIY builders spend the least time on. Get it right and your shed sits level, drains properly, and lasts for decades without a problem. Get it wrong and you’ll be dealing with a racking floor frame, rotting floor joists, and a structure that moves every spring when the ground thaws. Use our free shed foundation calculator to estimate your shed foundation layout, material quantities, gravel, concrete, piers, deck blocks, and skid foundation materials.
The good news is that shed foundations are not complicated. There are four options used by the vast majority of DIY builders, and the right choice for your project becomes clear once you understand what each one actually involves, what it costs, and what conditions it’s suited for. This guide covers all four — gravel pad, pressure-treated skids, concrete deck blocks, and poured concrete slab — with honest assessments of where each one works and where it doesn’t.
Foundation choice also affects whether you need a building permit in many jurisdictions. Sheds on non-permanent foundations are more likely to qualify for permit exemptions than sheds on poured concrete slabs. See our shed permit guide for how this works in practice.
Quick Comparison: All Four Foundation Types
| Foundation Type | Cost | Best For | Permanent? | Skill Level |
|---|---|---|---|---|
| Gravel pad + skids | $100 – $400 | Most sheds up to 12×16 | No | Beginner |
| Concrete deck blocks | $200 – $600 | Uneven ground, larger sheds | No | Beginner |
| Concrete piers | $300 – $800 | Sloped sites, heavy loads | Semi-permanent | Intermediate |
| Poured concrete slab | $800 – $2,500+ | Large workshops, permanent structures | Yes | Advanced / hire out |
For most residential shed builds — particularly anything under 12×16 on reasonably level ground — a gravel pad with pressure-treated skids is the right answer. It is the most affordable option, the fastest to install, requires no specialized skills, and is accepted by the majority of building departments as a non-permanent foundation. The sections below explain when and why you’d choose one of the other options instead.
Option 1: Gravel Pad with Pressure-Treated Skids
What it is
A gravel pad foundation consists of a compacted layer of crushed gravel — typically 4 to 6 inches deep — with pressure-treated timber skids (usually 4×4 or 4×6 lumber) set on top. The shed’s floor frame sits directly on the skids. The gravel layer does two jobs: it provides a stable, compacted base that won’t shift significantly with freeze-thaw cycles, and it drains water away from the underside of the shed so the floor framing stays dry.
This is the most widely used shed foundation type for DIY builders, and the foundation type that all of our shed plans are designed around by default.
Cost
A gravel pad foundation for a typical 10×12 shed costs $100 to $400 in materials, depending on shed size and how much gravel you need. The main costs are:
- Crushed gravel (typically 3/4″ crushed stone or pea gravel): $30–$60 per ton, delivered. A 10×12 pad at 4 inches deep needs roughly 1.5–2 tons.
- Landscape fabric: $20–$40 for a roll sufficient for most shed pads.
- Pressure-treated 4×4 or 4×6 skids: $15–$30 per 8-foot length. Most sheds need 3–4 skids.
- Gravel delivery fee if applicable: $50–$100 depending on your distance from the supplier.
If you already have a relatively level site, total installed cost including your own labor runs $150–$350 for most residential shed sizes. This is by far the least expensive foundation option.
Pros
- Cheapest option by a significant margin. Materials cost a fraction of any other foundation type.
- Fastest to install. A gravel pad can be laid and leveled in an afternoon. You can start framing the floor the same day.
- No specialized tools or skills required. A tamper, a level, and a wheelbarrow are all you need.
- Excellent drainage. Crushed gravel allows water to drain freely away from the shed’s underside, which is the single most important factor in how long your floor framing lasts.
- Non-permanent. In most jurisdictions, a shed on skids is classified as a non-permanent structure and is more likely to qualify for permit exemptions. It can also be relocated if needed.
- Adjustable. If the shed settles unevenly over time, you can re-level it by shimming the skids — something you can’t do with a poured slab.
Cons
- Not suitable for very large sheds. For sheds larger than 12×16, skids may not provide sufficient bearing area for the floor load, and concrete block piers or a poured slab become more appropriate.
- Requires reasonably level ground. A gravel pad works well on sites with up to 6–8 inches of grade change across the footprint. On steeply sloped sites, concrete deck blocks or piers are better suited to accommodating the elevation change.
- Skids must be pressure-treated. Untreated lumber in contact with or near soil will rot within a few years regardless of how well the gravel drains. Always use ground-contact rated pressure-treated lumber (rated UC4A or UC4B) for skids.
How to install a gravel pad
- Mark the pad area. Mark an area 12 inches larger than your shed footprint on each side — so for a 10×12 shed, mark a 12×14 area. The extra border keeps splash-back away from the siding.
- Excavate 4–6 inches. Remove sod and topsoil to a depth of 4–6 inches across the entire marked area. A flat spade and a wheelbarrow work fine for most pad sizes.
- Install landscape fabric. Lay landscape fabric over the excavated area and up the sides. This suppresses weeds without blocking drainage.
- Add and compact gravel. Fill the excavated area with crushed gravel in 2-inch lifts, compacting each layer with a hand tamper or plate compactor. Total depth should be 4–6 inches after compaction. Check for level frequently as you go.
- Set and level the skids. Place pressure-treated skids perpendicular to your floor joists, spaced according to your plan’s specifications. Check each skid for level and adjust by adding or removing gravel beneath until all skids are in the same plane. This step is worth taking your time on — a level foundation makes every subsequent step of the build easier.
Option 2: Concrete Deck Blocks
What it is
Concrete deck blocks — also called shed blocks or pier blocks — are precast concrete blocks with a notched or slotted top that accepts a 4×4 or 4×6 beam directly. They sit on the ground surface (typically on a compacted gravel base) at each corner and at mid-span positions under the floor frame. The floor frame beams or joists rest in the notches at the top of each block.
Deck blocks are a step up from skids in terms of stability and load distribution, making them a better choice for larger sheds or sites where the ground isn’t quite level enough for skids to sit flat.
Cost
Concrete deck blocks cost $6 to $12 each at Home Depot or Lowe’s. A 10×12 shed typically needs 6–9 blocks depending on span lengths and joist spacing. Total block cost is usually $50–$120. Add a gravel base beneath each block location ($50–$100) and the pressure-treated beams that rest in the block notches ($80–$150), and total material cost runs $200 to $600 for most residential shed sizes.
Pros
- Better for uneven ground. Individual deck blocks can be shimmed or set at different depths to accommodate grade changes across the shed footprint — more flexibility than a flat gravel pad.
- Good load distribution. The concrete block spreads the point load from each beam over a larger ground contact area than a wood skid alone.
- Still non-permanent. Like skids, concrete deck blocks are generally classified as non-permanent in most jurisdictions and do not trigger permit requirements the way a poured slab does.
- Inexpensive and widely available. Every major hardware store stocks them, and installation requires no special tools or skills.
- No curing time. Unlike poured concrete, you can set deck blocks and start framing immediately.
Cons
- Less stable on soft or expansive soils. On clay-heavy soil that swells and shrinks with moisture changes, individual blocks can shift independently, causing the shed floor to go out of level over time. A poured slab or concrete piers extending below the frost line are more appropriate for these conditions.
- Not suitable for very steep slopes. If your site has more than 10–12 inches of grade change, the blocks at the low end of the site need to be elevated significantly to bring the floor frame level — at which point concrete piers become a better structural solution.
- Requires precise layout. Block placement needs to be accurate — positions that are out of square or out of line will make the floor frame difficult to assemble square. Take time to lay out block positions carefully before setting them.
How to install concrete deck blocks
- Mark block positions. Lay out block positions according to your plan’s foundation diagram. For most sheds, blocks go at each corner and at 4-foot intervals under the perimeter beams, with additional blocks at mid-span under interior beams for larger sheds.
- Prepare each block location. Excavate a small area at each block position, tamp the soil firm, and add a 2–3 inch compacted gravel pad beneath each block location. This improves drainage and gives each block a stable, level base.
- Set and level blocks. Place each block on its gravel pad and check for level in both directions. Add or remove gravel to adjust. Once all blocks are set, use a long level or a string line to verify that all block tops are in the same plane — this is the critical step.
- Set the beams. Drop pressure-treated 4×4 or 4×6 beams into the block notches. Check that beams are level and square before proceeding to floor framing.
Option 3: Concrete Piers
What it is
Concrete piers are cylindrical columns of poured concrete that extend from below the frost line up to grade level (or slightly above it). They’re formed using cardboard tube forms — commonly called Sonotube — which are set in an augured hole, filled with concrete, and allowed to cure before the shed’s beams are set on top. A post base hardware connector is embedded in the wet concrete at the top of each pier to attach the beam.
Piers that extend below the frost line are unaffected by freeze-thaw heaving — the ground can move above the pier, but the pier itself stays fixed. This makes them the best foundation choice for cold climates where frost heaving is a real concern, and for sloped sites where the elevation difference between the high and low ends of the shed footprint is too great for deck blocks to handle practically.
Cost
Concrete pier foundations cost $300 to $800 for a typical residential shed, depending on the number of piers required, pier depth, and whether you rent an auger or dig by hand. Main costs include:
- Tube forms (Sonotube): $10–$20 each
- Concrete (pre-mixed bags): $5–$8 per 60 lb bag; most piers need 1–3 bags each
- Post base hardware connectors: $8–$15 each
- Auger rental (if needed): $80–$150 per day
If your frost line is shallow (less than 18 inches) and you can hand-dig or use a manual post hole digger, you can keep pier costs at the lower end. In climates where the frost line is 36–48 inches deep, renting a power auger is worth the cost.
Pros
- Best choice for sloped sites. Piers can be poured at varying heights to bring a level beam plane across a significantly sloped site — much more so than deck blocks can accommodate.
- Frost-proof when extended below the frost line. No seasonal heaving means the shed stays level year after year regardless of freeze-thaw cycles.
- Strong and stable for larger sheds. Piers provide excellent bearing capacity for heavier structures and large floor loads.
- Good for difficult soil conditions. Where deck blocks would shift on expansive or soft soil, piers extending to stable soil below the surface provide reliable support.
Cons
- More labor and time intensive. Auguring holes, setting forms, mixing and pouring concrete, and waiting for it to cure adds at least a day — often two — to the foundation process compared to a gravel pad or deck blocks.
- Requires concrete curing time. You need to wait 24–48 hours (ideally 72 hours) after pouring before loading the piers with any structural weight. Plan your build schedule accordingly.
- More permanent than deck blocks. Depending on jurisdiction, piers may be treated as a more permanent foundation type than surface blocks, which can affect permit requirements.
- Overkill for flat sites and smaller sheds. If your site is reasonably level and your shed is under 12×16, concrete deck blocks provide adequate support with much less installation effort.
Option 4: Poured Concrete Slab
What it is
A poured concrete slab is a full reinforced concrete floor, typically 4 inches thick for a shed application, poured over a compacted gravel base with steel rebar or wire mesh reinforcement. The shed’s wall framing sits directly on the slab — there is no separate floor frame. The concrete slab is both the foundation and the finished floor surface.
A concrete slab is the most permanent, most durable, and most expensive shed foundation option. It makes sense for a specific set of applications — and it’s overkill for most residential storage sheds.
Cost
A poured concrete slab for a shed costs $800 to $2,500 depending on size, local concrete pricing, and whether you hire a concrete contractor or pour it yourself. A DIY slab pour on a 10×12 footprint — renting forms, buying rebar and concrete, and hiring a truck to pour — typically runs $800–$1,200. Hiring a concrete contractor to handle the full job runs $1,500–$2,500 for the same size.
For larger sheds — 16×20 and above — slab costs scale accordingly and can reach $3,000–$5,000 for professional installation.
Pros
- Maximum durability and stability. A properly poured concrete slab lasts indefinitely and provides the most stable base of any foundation option.
- Best for heavy workshop use. If you’re building a woodworking shop or mechanic’s garage with heavy stationary equipment, rolling tool cabinets, and point loads from machinery, a concrete slab is the appropriate base. It handles concentrated loads that a wood floor frame on skids or blocks is not designed for.
- No floor frame required. The slab eliminates the floor frame entirely, which simplifies wall framing and reduces overall material cost for the floor assembly (though slab cost more than offsets this saving).
- Easy to clean. A concrete floor sweeps clean, handles spills without absorbing them, and can be sealed or painted for a more finished look.
Cons
- Most expensive by a wide margin. A poured slab costs $800–$2,500 where a gravel pad costs $100–$400 for the same footprint. The cost difference is hard to justify for a standard storage shed.
- Triggers permit requirements. A shed on a poured concrete slab is considered a permanent structure in virtually every US jurisdiction and will require a building permit regardless of shed size. In some areas it also requires a separate permit for the concrete work.
- Cannot be relocated. A shed on a slab is permanent. If you change your mind about placement or sell the property, it stays where it is.
- Cold and damp in winter. Concrete conducts cold from the ground and can produce condensation in humid conditions. For a hobby workspace or studio, this means you’ll want to insulate the walls thoroughly and consider a raised floor system over the concrete if you plan to spend significant time inside.
- Requires significant site preparation and curing time. Proper slab installation involves excavation, compacted gravel base, form setting, rebar installation, and a minimum 7-day curing period before loading. The process typically takes several days plus curing time before you can start framing walls.
- Difficult to DIY without experience. Getting a slab level, properly reinforced, and correctly finished requires more skill and coordination than any other foundation type. Most first-time builders are better off hiring a concrete contractor for this specific step even if they handle the rest of the build themselves.
Which Foundation Is Right for Your Shed?
Use this decision framework to narrow down your choice before committing to materials.
Choose a gravel pad with skids if:
- Your shed is 12×16 or smaller
- Your site is reasonably level (less than 6–8 inches of grade change across the footprint)
- You want to minimize cost and build time
- You want to avoid or simplify the permit process
- You want the option to relocate the shed in the future
- You’re a first-time builder
Choose concrete deck blocks if:
- Your site has moderate slope (6–12 inches of grade change across the footprint)
- Your shed is 10×12 to 14×16
- You want a non-permanent foundation with more stability than skids alone
- Your soil is firm and well-draining
Choose concrete piers if:
- Your site has significant slope (more than 12 inches of grade change)
- You’re in a cold climate where frost heaving is a real concern
- Your soil is soft, expansive clay, or otherwise unstable near the surface
- Your shed is 12×16 or larger with heavy expected floor loads
Choose a poured concrete slab if:
- You’re building a dedicated workshop with heavy stationary equipment
- Your shed is 16×20 or larger
- Your local building department requires a slab for the structure type
- You prioritize a hard, cleanable floor surface over cost savings
- The shed is intended to be permanent and you will not need to relocate it
Foundation and Shed Size: What Our Plans Are Designed For
Every shed plan on this site is designed around a gravel pad with pressure-treated skid foundation as the default. The floor frame dimensions, joist spans, and skid spacing in each plan are sized for this foundation type. If you choose to use concrete deck blocks instead, the floor frame design remains the same — you simply swap the skids for blocks at the beam bearing points. If you use concrete piers, your contractor or your pier layout should match the beam bearing locations shown in the plan.
Here’s how the foundation recommendation maps to our most popular plan sizes:
- 4×8 lean-to shed — gravel pad with skids. The simplest foundation for the simplest build.
- 8×10 barn shed — gravel pad with skids. Level site recommended.
- 12×10 barn shed — gravel pad with skids on level sites; concrete deck blocks on moderately sloped sites.
- 12×16 gable shed — gravel pad with skids or concrete deck blocks depending on site conditions.
- 16×20 cabin — concrete deck blocks or concrete piers. At this size and use level, a more robust foundation is warranted.
Anchoring: The Step Most DIY Builders Skip
Regardless of which foundation type you choose, your shed needs to be anchored to resist wind uplift. A shed sitting on skids or blocks without anchoring is at real risk of being lifted or shifted by high winds — and in most US jurisdictions, anchoring is a code requirement even for non-permanent shed foundations.
The most common anchoring methods for non-permanent foundations:
- Ground anchor straps: Steel auger anchors are screwed into the ground at each corner and connected to the shed’s floor frame with galvanized straps. Cost: $50–$120 for a complete kit. Works on gravel pads and soft soil.
- Concrete anchor blocks: Small concrete deadman blocks buried at an angle in the ground, connected to the floor frame with cable or strap. More permanent than auger anchors but harder to remove if you relocate the shed.
- Tie-down straps to concrete blocks: For sheds on concrete deck blocks, galvanized straps can connect the floor frame to the blocks, which are then connected to buried anchors.
If you’re in a hurricane-prone area, high-wind region, or anywhere that sees severe spring storms, do not skip the anchoring step. The cost of a ground anchor kit is minimal compared to the cost of a shifted or overturned shed.
Frequently Asked Questions
What is the best foundation for a shed?
For most residential shed builds — anything up to 12×16 on reasonably level ground — a gravel pad with pressure-treated skids is the best foundation. It’s the most affordable, fastest to install, easiest to level, and accepted by most building departments as a non-permanent foundation that qualifies for permit exemptions. Concrete deck blocks are the right step up for moderately sloped sites or larger sheds. A poured concrete slab is best reserved for dedicated workshops with heavy equipment where the durability of a hard floor justifies the significantly higher cost.
How deep should a shed foundation be?
For a gravel pad with skids, the gravel layer should be 4 to 6 inches deep after compaction. For concrete deck blocks, each block should sit on a 2–3 inch compacted gravel pad. For concrete piers in cold climates, the bottom of the pier must extend below the frost line for your region — this ranges from 12 inches in the deep South to 48 inches or more in northern states. Check your county’s frost line depth before sizing pier holes.
Can I build a shed on dirt?
Technically yes, but it’s not recommended. Bare dirt as a shed foundation allows moisture to wick up into the floor framing, provides uneven support as the soil settles, and offers no drainage — all of which accelerate rot in the floor joists. Even a minimal 4-inch gravel pad is a substantial improvement over bare dirt and costs very little. The gravel layer is one of the highest-value investments in the whole build relative to its cost.
Do I need gravel under concrete deck blocks?
Yes. Each concrete deck block should sit on a 2–3 inch bed of compacted crushed gravel, not directly on soil. The gravel provides drainage, prevents the blocks from sinking into soft soil over time, and makes it easier to fine-tune the height of each block to get them all level. Skipping the gravel under deck blocks is one of the most common reasons shed foundations go out of level within the first few years.
How much does a shed foundation cost?
Foundation cost varies significantly by type. A gravel pad with pressure-treated skids runs $100–$400 in materials for most residential shed sizes. Concrete deck blocks run $200–$600. Concrete piers run $300–$800 depending on depth and number of piers. A poured concrete slab runs $800–$2,500 for DIY or contractor installation on a standard shed footprint. For full project cost context, see our shed cost guide.
What kind of gravel should I use for a shed foundation?
Use 3/4″ crushed stone (also called crusher run or road base depending on your region). Crushed stone compacts firmly, drains well, and locks together so it doesn’t shift. Avoid pea gravel for the base layer — it’s too round to compact properly and will shift under load. Pea gravel is acceptable as a top dressing layer for appearance, but the structural base should always be angular crushed stone. Both Home Depot and Lowe’s sell crushed stone in bags; for larger quantities, order by the ton from a local landscape supply yard — it’s significantly cheaper delivered in bulk than bought in bags.
Can I put a shed on pavers?
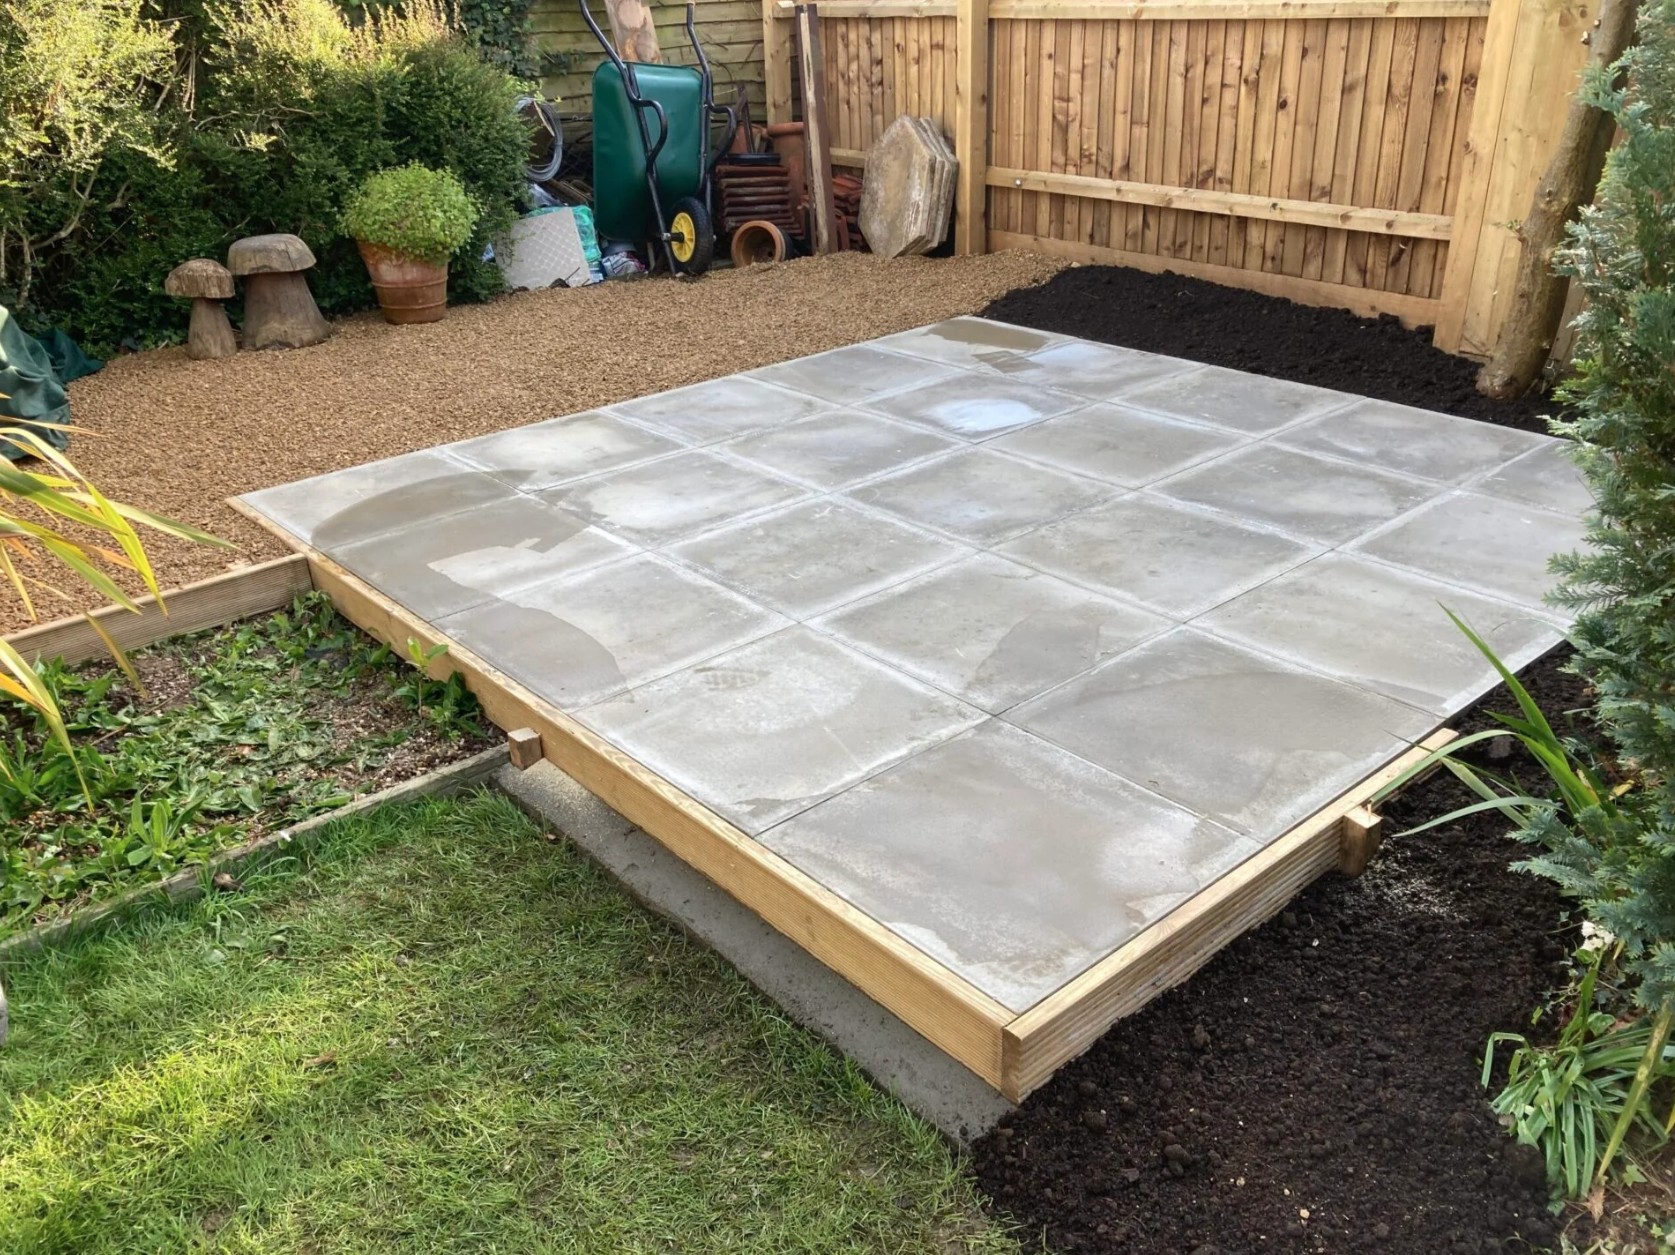
Concrete or brick pavers can work as a shed base, but they have to be laid on a properly compacted gravel sub-base — not directly on soil. Without the gravel sub-base, individual pavers will settle unevenly as the soil compresses beneath them, causing the shed floor to go out of level. If you want a paver base for aesthetic reasons, install the compacted gravel sub-base first, then lay the pavers on top as a surface layer. Functionally, this is similar to a gravel pad with an additional paver surface finish.
Will my shed foundation need a permit?
In most US jurisdictions, a shed on a non-permanent foundation — gravel pad, skids, or concrete deck blocks — is less likely to require a building permit than a shed on a poured concrete slab, which is treated as a permanent structure. However, permit requirements depend on your county’s specific rules and the size of your shed, not just the foundation type. See our full permit guide for how to check what your county requires in about 10 minutes.
Ready to Start Building?
Once your foundation is in place, every plan on this site picks up from there — with a complete floor frame design, wall framing plans, roof framing plans, and step-by-step instructions all the way to the finished shed. Every plan is designed for the gravel pad and skid foundation covered in this guide, with no modifications needed to get started.