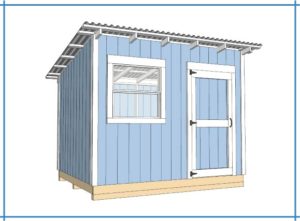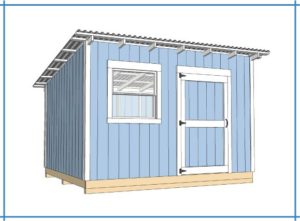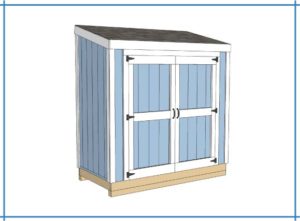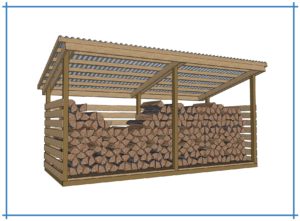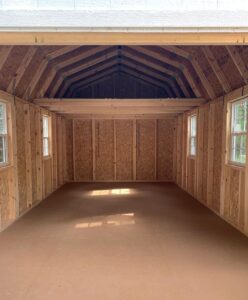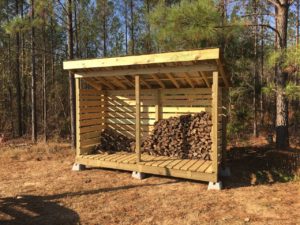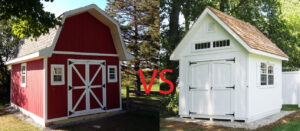
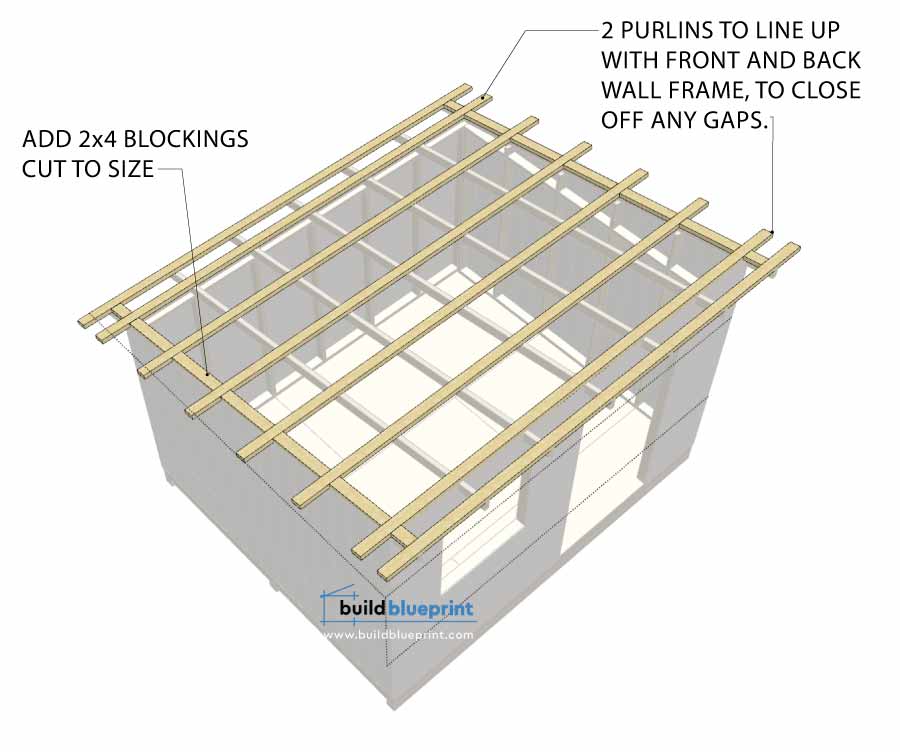
The lean-to roof — also called a skillion roof — is the simplest roof style you can frame. There’s no ridge board, no complex angle intersections, and no truss assembly. Just a single sloped plane running from a tall wall down to a short wall, with rafters running parallel to each other the whole way. If you’ve never framed a roof before, this is the style to learn on.
This guide covers the full process: calculating the single rafter angle for any combination of wall heights and building width, installing a ledger board if you’re attaching the shed to an existing structure, and setting and securing the rafters. Whether you’re building a standalone lean-to shed or attaching one to the side of a house or garage, the framing principles are the same.
Before you start roof framing, your walls should be complete, plumb, and square. If you haven’t finished that stage, see our wall framing guide first.
What You’ll Need
Materials
- 2×4 or 2×6 rafter lumber: Size depends on span and your plan’s specification.
- 2×6 or larger ledger board (only needed for an attached lean-to): bolted to the existing structure to support the high end of the rafters.
- Lag bolts or structural screws: For attaching a ledger board securely to an existing wall.
- Flashing: Where a ledger board meets an existing structure, to direct water away from the connection point.
- 16d nails or 3″ construction screws
- Rafter ties or hurricane clips (optional): Metal connectors reinforcing the rafter-to-wall connection.
Tools
- Circular saw
- Speed square
- Tape measure
- 4-foot level and a longer straightedge
- Chalk line
- Drill (for ledger board bolting, if applicable)
- Ladder
Why the Lean-To Roof Is the Simplest Style to Build
Every other common shed roof style — gable, gambrel, hip — involves rafters meeting at a center ridge, which means two separate rafter angles (or more, for a hip roof) and a ridge board that needs temporary support during installation. A lean-to roof eliminates all of that. Every rafter is identical, runs in one direction only, and slopes from a tall wall to a short wall with no ridge to deal with at all.
This simplicity makes the lean-to roof the ideal first roof-framing project for someone who has never cut a rafter before. The core skill — calculating and cutting an angled rafter — is exactly the same skill needed for gable and gambrel roofs. Learning it on a lean-to, where there’s only one angle to manage instead of two meeting at a ridge, is a good way to build confidence before tackling a more complex roof style.
Step 1: Determine Your Wall Heights and Roof Slope
A lean-to roof requires two different wall heights — a taller wall on one side and a shorter wall on the other — with the rafters spanning the difference. The height difference between the two walls, combined with the building’s width, determines your roof’s slope.
Your specific shed plan will specify both wall heights directly. If you’re designing without a plan, a reasonable starting point is a slope of 3:12 to 4:12 (3 to 4 inches of rise per 12 inches of horizontal run) — steep enough to shed water effectively without requiring an excessive height difference between the two walls, which can otherwise make the tall wall impractically high relative to the shed’s width.
For an attached lean-to (built against an existing structure like a house or garage), the height of the existing wall at the attachment point typically determines your “tall side” height, and you calculate the low wall height by working backward from your desired slope and the building’s depth.
Step 2: Calculate Rafter Length
Because a lean-to rafter runs from the tall wall to the short wall in a single straight slope, rafter length can be calculated directly using the Pythagorean theorem, rather than relying on a rafter table designed for common-rafter/ridge configurations.
Rafter length = √(run² + rise²), where run is the horizontal distance between the two walls (the building’s depth) and rise is the height difference between the tall wall and the short wall.
For example, on a shed that is 8 feet deep with a 12-inch height difference between the tall and short walls: run = 96 inches, rise = 12 inches. Rafter length = √(96² + 12²) = √(9216 + 144) = √9360 ≈ 96.75 inches, or about 8 feet 1 inch along the slope.
Add your desired overhang length (commonly 6 to 12 inches) to this calculated length on both the high and low ends, adjusted for the roof angle. Most plans provide the total rafter length including overhangs directly, which is the more reliable figure to build from if you’re working from an existing plan rather than designing independently.
Step 3: Install a Ledger Board (Attached Lean-To Only)
If your lean-to shed attaches to an existing structure — a common approach for firewood storage or equipment sheds built against a garage or house — the high end of your rafters attaches to a ledger board rather than to a stud-framed wall you’ve built yourself.
- Locate the wall studs of the existing structure at the attachment point, since the ledger board must be fastened into structural framing, not just the exterior siding.
- Mark the ledger board height on the existing wall, based on your calculated tall-wall height and rafter slope.
- Cut the ledger board to length — typically 2×6 or larger, matching or exceeding your rafter depth for adequate bearing.
- Attach flashing above the ledger board location before installing the board, tucked behind the existing siding if possible, to direct water away from the connection point and prevent moisture intrusion into the existing structure.
- Bolt the ledger board to the wall studs using lag bolts or structural screws rated for the load, following a fastening pattern appropriate to the ledger’s length and the load it will carry — typically staggered bolts every 16 to 24 inches, driven into each stud location.
- Check the ledger board for level before final fastening, since it establishes the height reference for every rafter that attaches to it.
If your lean-to shed is freestanding rather than attached to an existing structure, skip this step entirely — the tall side of a freestanding lean-to is simply a taller stud wall, framed the same way as any other shed wall, just built to a greater height than the opposite wall.
Step 4: Cut a Rafter Template
As with any roof style, cut and test-fit one rafter before cutting the full set.
- Mark the high-end cut at one end of your rafter stock, using a speed square set to your roof’s slope angle. On an attached lean-to, this end typically sits on top of the ledger board with a plumb cut against its face, similar to a bird’s mouth. On a freestanding lean-to, this end sits on top of the tall wall’s top plate, often with a simple bird’s mouth notch just like a gable roof rafter.
- Measure the full rafter length from the high-end cut to mark the low-end cut location.
- Mark the low-end bird’s mouth where the rafter crosses the short wall’s top plate, using the same notch technique as any other roof style — a level cut resting on the plate and a plumb cut against its outer face.
- Mark the tail cuts at both overhang ends if your design includes overhangs on both the high and low sides, or just the low side if the high side attaches flush to a ledger board with no overhang.
- Cut the template rafter and test-fit it in position before cutting the remaining rafters. This is the step most worth taking slowly — confirming the fit on one rafter before committing to the full set.
Step 5: Set the Rafters
With a working template confirmed, set the remaining rafters at the spacing specified in your plan — typically 16 or 24 inches on center.
- Mark rafter positions on the ledger board (or tall wall top plate) and the short wall top plate, using consistent on-center spacing on both.
- Set each rafter in position, attaching the high end to the ledger board or tall wall, and toe-nailing the bird’s mouth on the low end to the short wall’s top plate.
- Check each rafter for level and consistent slope as you go, sighting along the top edges of installed rafters to catch any inconsistency early.
- Add blocking between rafters at the wall lines if your plan specifies it — this helps maintain consistent rafter spacing and provides a nailing surface for soffit material if you’re finishing the underside of the overhangs.
Because there’s no ridge board to support during installation, lean-to rafters are generally easier to set solo than gable or gambrel rafters — each one is independently supported by the two walls (or ledger and wall) it spans between, rather than depending on a temporarily braced ridge board.
Step 6: Install Roof Sheathing
Once all rafters are set and level, install roof sheathing — typically ½-inch plywood or OSB — across the rafters, providing the base for underlayment and your final roofing material. Sheathing installation and the roofing steps that follow are covered in our separate roofing guides.
Freestanding vs. Attached Lean-To: Key Differences
The core rafter framing process is identical whether your lean-to is freestanding or attached, but a few details differ:
| Freestanding Lean-To | Attached Lean-To | |
|---|---|---|
| High-end support | Tall stud wall, framed the same as any wall | Ledger board bolted to existing structure |
| Foundation needed | Full foundation on all sides | Full foundation, but tied structurally to existing building on one side |
| Overhang on high side | Yes, if desired | Typically none — flush to the ledger |
| Flashing required | No | Yes, above the ledger board connection |
| Structural independence | Fully independent structure | Partially dependent on existing structure’s condition |
One consideration specific to attached lean-tos: the condition and structural capacity of the existing wall matters. Before attaching a ledger board, confirm that the existing wall framing is sound and that the structure can accept the additional load a lean-to roof transfers into it. For a firewood shed or light equipment shed, this is rarely an issue, but for anything with a heavier roof load, it’s worth a moment’s consideration before you start drilling into an existing wall.
Common Mistakes to Avoid
Not accounting for existing wall condition on an attached lean-to. A ledger board is only as strong as what it’s bolted to. Confirm the existing wall has sound framing at the attachment height before proceeding, particularly on older structures.
Skipping flashing above the ledger board. Without flashing, water running down the existing wall’s siding can find its way behind the ledger board connection and into the wall assembly, leading to hidden rot over time. This is a small step that prevents a significant long-term problem.
Making the roof slope too shallow. A lean-to roof with too little slope (below roughly 2:12) doesn’t shed water and snow effectively, and can lead to ponding on the roof surface, especially if the roofing material itself is asphalt shingle rather than a membrane or metal roofing designed for low slopes. Stick to a minimum 3:12 slope for standard asphalt shingle roofing, or consider metal roofing for lower-slope designs.
Cutting rafters without a test-fit. As with any roof style, cut and test-fit one rafter against the actual wall structure before committing to cutting the full set.
Forgetting overhang on the low side. Even on an attached lean-to where the high side sits flush against a ledger board with no overhang, the low side typically still benefits from an overhang to direct water away from the wall below. Check your plan’s overhang specification for the low side specifically.
Frequently Asked Questions
What is the minimum slope for a lean-to roof?
A minimum slope of 3:12 (3 inches of rise per 12 inches of run) is generally recommended for standard asphalt shingle roofing on a lean-to design. Slopes below this can allow water to pond rather than shed properly, particularly with shingle roofing. If you need a lower-profile roof for design reasons, metal roofing panels handle low slopes more effectively than asphalt shingles and are worth considering as an alternative.
How do you calculate rafter length for a lean-to roof?
Use the Pythagorean theorem: rafter length equals the square root of (run squared plus rise squared), where run is the horizontal distance between the tall and short walls, and rise is the height difference between them. Add your desired overhang length afterward. Most shed plans provide this total length directly, which is more reliable than calculating independently if you’re building from an existing plan.
Do I need a ledger board for a lean-to shed?
Only if your lean-to shed attaches to an existing structure like a house or garage. A freestanding lean-to shed doesn’t need a ledger board — the high side is simply a taller stud wall, framed using the same techniques as any other shed wall, just built to a greater height than the low side.
Is a lean-to roof easier to build than a gable roof?
Yes, significantly. A lean-to roof involves a single rafter angle and no ridge board, making the geometry and installation process simpler than a gable roof, which requires two rafter angles meeting at a center ridge that needs temporary support during construction. For a first-time roof-framing project, a lean-to is the more approachable starting point.
How much height difference do I need between the two walls on a lean-to shed?
The height difference depends on your building’s depth and desired slope. For a shed that is 8 feet deep with a 4:12 slope, you’d need roughly 32 inches of height difference between the tall and short walls (8 feet × 4 inches of rise per foot of run). Your specific plan will provide this calculation directly based on your shed’s exact dimensions.
Can a lean-to shed be built without attaching it to another structure?
Yes. A freestanding lean-to shed is a complete standalone structure with its own foundation and four walls — one tall, one short, and two side walls that taper between the two heights to match the roof slope. It’s a popular choice specifically because it doesn’t require an existing structure to attach to, and because the simpler roof framing makes it one of the fastest and most affordable shed styles to build from scratch.
Ready for the Next Step?
Once your lean-to roof frame is complete and sheathed, the next stage is roofing — underlayment, shingles or metal panels, and trim work. Our roofing guides pick up exactly where this one leaves off.