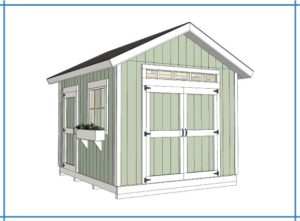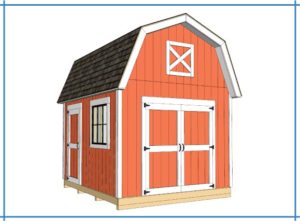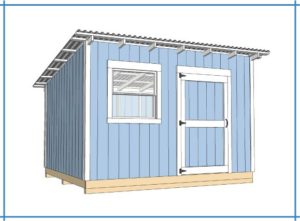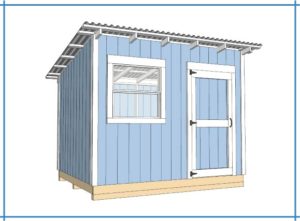
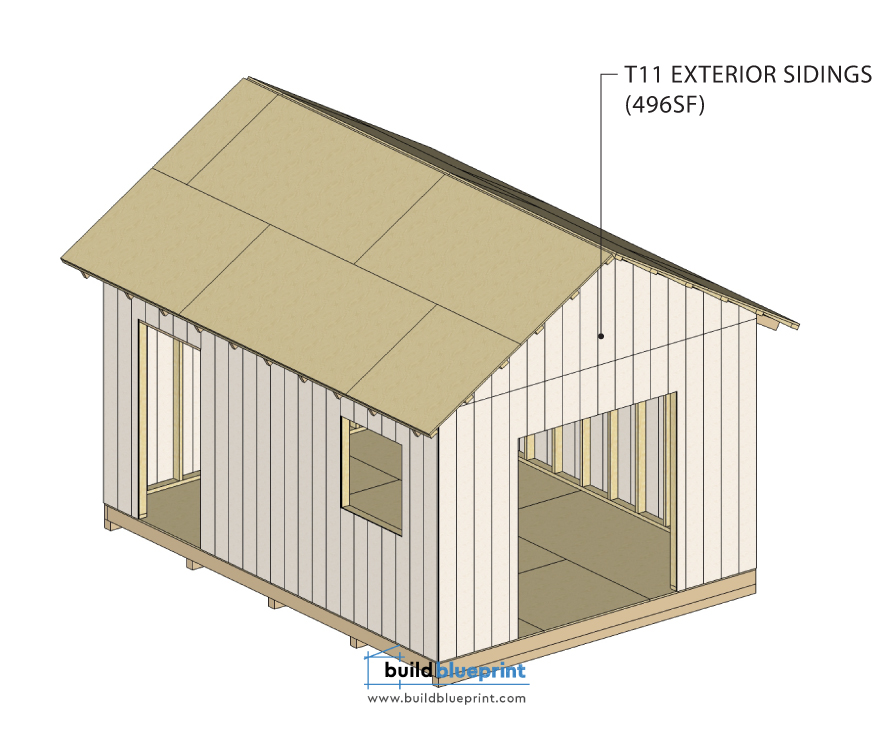
Siding is the last major structural step before your shed starts to look finished, and it’s also one of the most forgiving stages of the whole build — the techniques are straightforward, mistakes are easy to correct, and the visual payoff is immediate. T1-11 plywood siding is the material almost every DIY shed plan is designed around, since it doubles as both structural sheathing and a finished exterior surface in a single panel.
This guide covers the full installation process: starting your first panel correctly, cutting openings for doors and windows, handling corners and panel overlaps, and priming and painting for maximum durability. Get the first panel right and the rest of the wall goes quickly, since every subsequent panel simply follows the layout the first one establishes.
Before installing siding, your walls should be fully framed, raised, plumb, and square, with any header and rough opening framing for doors and windows already in place. If you haven’t finished that stage, see our wall framing guide first.
What You’ll Need
Materials
- T1-11 plywood siding panels: Typically 4×8, 4×9, or 4×10 sheets depending on your wall height. Sold with grooves pre-routed at 4″, 8″, or 12″ spacing for a board-and-batten look.
- Galvanized siding nails or exterior-rated screws: Sized to penetrate at least 1.5 inches into the wall framing.
- Z-flashing: For horizontal panel joints if your wall height requires stacking panels.
- Caulk (paintable exterior-grade): For sealing panel joints, corners, and openings.
- Corner trim boards: 1× dimensional lumber, typically 1×4 or 1×6, to cover and protect panel corner joints.
- Exterior primer and paint (or solid-body stain): T1-11 must be sealed on all sides and edges to perform well long-term.
Tools
- Circular saw with a fine-tooth plywood blade
- Chalk line
- Tape measure
- Level (4-foot and a longer straightedge)
- Caulk gun
- Paintbrush and roller, or a paint sprayer
- Jigsaw (for cutting door and window openings)
Step 1: Plan Your Panel Layout Before Cutting Anything
Before you cut a single panel, walk the full perimeter of your shed and sketch out how full sheets will land on each wall, accounting for corners, door openings, and window openings. This planning step prevents two common problems: ending up with an awkward sliver of siding at a corner, and discovering partway through the job that you’ve cut a panel the wrong way for the opening it needs to cover.
Most shed plans are designed around standard 4-foot panel widths aligning with 16-inch on-center stud spacing, so panel edges land on stud centers without extra cutting in most cases. Confirm this alignment on your specific shed before starting — if your wall length isn’t an exact multiple of 4 feet, you’ll have a cut panel at one end of each wall, which is normal and expected.
Step 2: Start Your First Panel at a Corner
Begin installation at one corner of the building, working around the perimeter in one direction so each new panel overlaps the previous one consistently.
- Confirm the corner stud is plumb using a 4-foot level before installing the first panel — every subsequent panel around the building references off this starting point, so it’s worth getting exactly right.
- Position the first panel flush with the corner, with its bottom edge overlapping the floor frame slightly (typically ½ to 1 inch below the top of the floor deck) to shed water away from the floor framing, per your plan’s specification.
- Check the panel for plumb before fastening, adjusting slightly if needed even though the corner stud was already checked — the panel itself can introduce small variations.
- Fasten the panel to the framing, nailing or screwing every 6 inches along the panel edges and every 12 inches into intermediate studs, following your plan’s fastening schedule. Fasteners should be positioned at least ⅜ inch from panel edges to avoid splitting.
Step 3: Continue Around the Building
Work your way around the perimeter, butting each new panel against the previous one at a stud location so both panel edges are fully supported by the same piece of framing underneath.
- Position each new panel so its edge lands directly over a stud, never in the middle of a stud bay where the edge would be unsupported.
- Leave a small gap (about 1/8 inch) between panel edges to allow for material expansion, which will be sealed later with caulk.
- Check each panel for plumb before fastening, even though the layout is straightforward — small errors can accumulate around the building if not caught panel by panel.
- Fasten each panel following the same nailing or screw pattern used on the first panel.
Handling panels that need to be cut to width
When you reach the end of a wall and a full panel won’t fit, measure the remaining space and cut a panel to width using a circular saw with a fine-tooth plywood blade for a clean edge. Cut from the back face of the panel where possible (with the finished groove side down) to minimize splintering on the visible face.
Step 4: Cut Door and Window Openings
The most reliable method is to install full panels over framed openings first, then cut the opening from the outside once the panel is fastened in place — this keeps your panel layout consistent and avoids the difficulty of trying to align a pre-cut opening exactly with the framing underneath.
- Install the panel over the framed opening as if it were a solid wall section, fastening it normally around the perimeter of the panel.
- Locate the opening from the inside, drilling a small pilot hole through the panel at each corner of the rough opening so you can find those exact points from the outside.
- Connect the pilot holes with a chalk line on the panel’s outer face, marking the full opening outline.
- Cut the opening using a jigsaw, starting each cut from a corner and following your marked lines carefully. A jigsaw gives you the maneuverability needed for straight plunge cuts and corner turns that a circular saw can’t manage as cleanly.
- Check the cut opening against your door or window unit before final trim work, confirming it’s sized correctly with a small amount of clearance (typically ¼ to ½ inch on each side) for shimming the unit level and plumb during installation.
Step 5: Handle Corners
Where two walls meet at a corner, the panel edges need to be protected and finished cleanly, since this is one of the most exposed points on the building for water intrusion.
- Confirm both wall panels meet cleanly at the corner, with a small gap (1/8 inch) left between them for expansion, similar to any other panel joint.
- Install vertical corner trim boards (typically 1×4 or 1×6) over the corner joint, covering both panel edges and providing a clean, finished appearance while sealing the joint from water intrusion.
- Caulk behind the corner trim before final fastening, sealing the gap between the trim and the panel edges underneath.
- Fasten corner trim boards into the corner framing at regular intervals, following standard trim fastening practices.
Step 6: Install Horizontal Joints (Taller Walls Only)
If your wall height requires stacking two panels vertically rather than using a single tall panel, the horizontal joint between them needs particular attention, since it’s the most vulnerable point on the wall for water intrusion.
- Install the lower panel first, following the same layout and fastening process as any other panel.
- Install Z-flashing along the top edge of the lower panel, which directs water outward and away from the joint rather than allowing it to seep behind the upper panel.
- Install the upper panel, overlapping the flashing and butting cleanly against it.
- Caulk any remaining gaps along the joint after both panels and the flashing are in place.
Where possible, choosing panel sizes that match your wall height without requiring a horizontal joint (a 4×9 or 4×10 sheet instead of a standard 4×8, for taller walls) eliminates this vulnerable joint entirely and is generally the better approach if the panel size is available in your area.
Step 7: Prime and Paint
T1-11 siding must be fully sealed on all faces and edges to perform well long-term — an unsealed or partially sealed panel will absorb moisture at exposed edges and begin to swell and delaminate within a few seasons, regardless of how well it was installed structurally.
- Prime all panel surfaces and edges with an exterior-grade primer designed for wood siding, paying particular attention to cut edges (at panel joints, corners, and openings) where the plywood’s inner layers are exposed and most vulnerable to moisture absorption.
- Caulk all joints, corners, and openings before painting, using a paintable exterior-grade caulk. This should be done after primer but before the final paint coats.
- Apply two coats of exterior acrylic paint, allowing proper drying time between coats per the manufacturer’s instructions. Two coats provide meaningfully better long-term protection than a single heavy coat, since the second coat fills in any thin spots left by the first.
- Plan to repaint every 5 to 7 years in most climates to maintain the protective coating, more frequently in regions with intense sun exposure or heavy precipitation.
Common Mistakes to Avoid
Skipping primer on cut edges. Factory panel edges often come with at least a light factory seal, but any edge you cut yourself — at corners, openings, or panel-to-panel joints — is raw plywood that needs primer before it’s exposed to weather. This is the single most common cause of premature T1-11 failure, and it’s entirely preventable with a few extra minutes of prep work per cut edge.
Installing panels tight against each other with no expansion gap. Wood panel siding expands and contracts with humidity and temperature changes. A small 1/8-inch gap between panels, later sealed with flexible caulk, accommodates this movement without buckling. Panels installed perfectly tight against each other can buckle or crack at the joint over time.
Cutting openings before installing the panel. Pre-cutting a door or window opening and then trying to align it precisely with the framing underneath is significantly harder than installing the panel solid first and cutting the opening in place from pilot holes. The pilot-hole method used in Step 4 above is more reliable for a first-time installer.
Using standard interior-grade fasteners. Non-galvanized fasteners will rust and stain the siding within a season or two of exposure. Always use hot-dipped galvanized nails or exterior-rated screws for any siding installation.
Painting over unsealed or unprimed edges. Paint alone is not a substitute for primer, particularly on raw cut edges of plywood. Primer is formulated to penetrate and seal the wood fibers; paint applied directly over unprimed cut plywood edges will not provide the same level of long-term moisture protection.
Frequently Asked Questions
Can I install T1-11 siding myself?
Yes. T1-11 installation is one of the more approachable stages of a shed build for a first-time DIYer — the panels are large, coverage is fast, and the techniques (measuring, cutting, and fastening large flat panels) don’t require specialized skills. The most technically demanding part is cutting door and window openings accurately, which the pilot-hole method described above makes manageable even for someone who has never done it before.
How do you cut T1-11 siding around a door or window?
Install the full panel over the framed opening first, then drill pilot holes through the panel at each corner of the rough opening from the inside. Connect the pilot holes with a chalk line on the outside face, then cut along the marked lines with a jigsaw. This method keeps your overall panel layout consistent and produces a more accurately placed opening than trying to pre-cut the panel before installation.
Do I need to prime both sides of T1-11 siding?
You need to prime and seal all exposed surfaces and edges — the outward-facing surface, and critically, every cut edge created during installation (corners, joints, and openings). The backside of the panel, which faces into the wall cavity, generally doesn’t need priming since it isn’t exposed to weather, though some builders prime it anyway for extra protection against interior humidity.
How long does T1-11 siding last?
Properly installed, primed, painted, and maintained T1-11 siding typically lasts 15 to 20+ years or more before needing replacement, though it requires repainting every 5 to 7 years to maintain that lifespan. Siding that isn’t properly sealed at cut edges or that goes without repainting can begin showing moisture damage and swelling significantly sooner — often within just a few years.
What size panels does T1-11 siding come in?
T1-11 is most commonly sold in 4×8 sheets, with 4×9 and 4×10 sizes also available in many markets for taller walls that don’t require a horizontal joint. Panels typically come with grooves pre-routed at 4, 8, or 12-inch spacing to mimic the look of individual board siding.
Do I need Z-flashing for T1-11 siding?
Only if your wall height requires stacking two panels vertically to reach full height. Z-flashing installed at the horizontal joint between stacked panels directs water outward rather than allowing it to seep behind the upper panel. If your wall height is covered by a single panel (using a 4×9 or 4×10 sheet instead of stacking two 4×8s), you can skip this step entirely, which is generally the simpler and more weathertight approach when panel availability allows it.
Ready for the Next Step?
Once your siding is installed, primed, and painted, your shed’s exterior walls are essentially complete. From here, the remaining steps are roofing — sheathing, underlayment, and shingles or metal panels — which our roofing guides cover in full.